
We find the Forge of Fury, un-animate several items, and an old puzzle returns to haunt us again.

When last we left our heroes, they had wandered off into the Glitterhame trying to find the key to a magical lock. They ended up in a lost sub-level of the dungeon, where they nearly got melted by an acidic ooze, nearly got poisoned by some stagnant water, and then nearly got eaten by a giant rock. But sadly, the party survived and managed to find the missing key, which turned out to be another piece of humming, etched metal of unknown origin, in a call back to my favorite puzzle from The Lost Mine of Phandelver, Session 14.
Running back to the sealed door, the key fit perfectly. With a whoosh of fresh air, the door opened to reveal a set of ornate marble stairs descending deeper into the gloom. The book has the stairs ascending upwards, putting the next level at the same depth as the first level Mountain Door. This is an interesting layout that suggests other parts to the complex may be buried in rubble. But most players tend to feel that the danger increases as you travel deeper underground, so my stairs descend. Regardless, when the group reaches the landing, they are in an octagon-shaped room with two doors on the opposite end flanked by bronze statues.
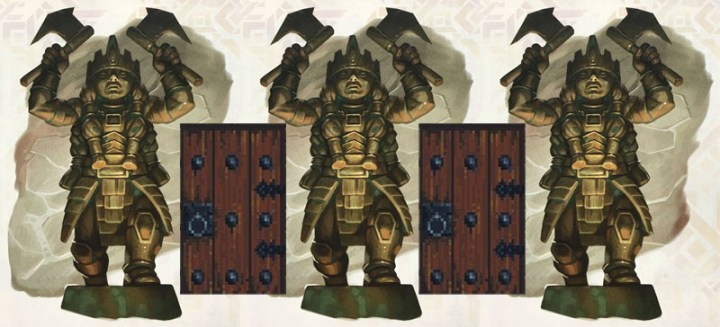
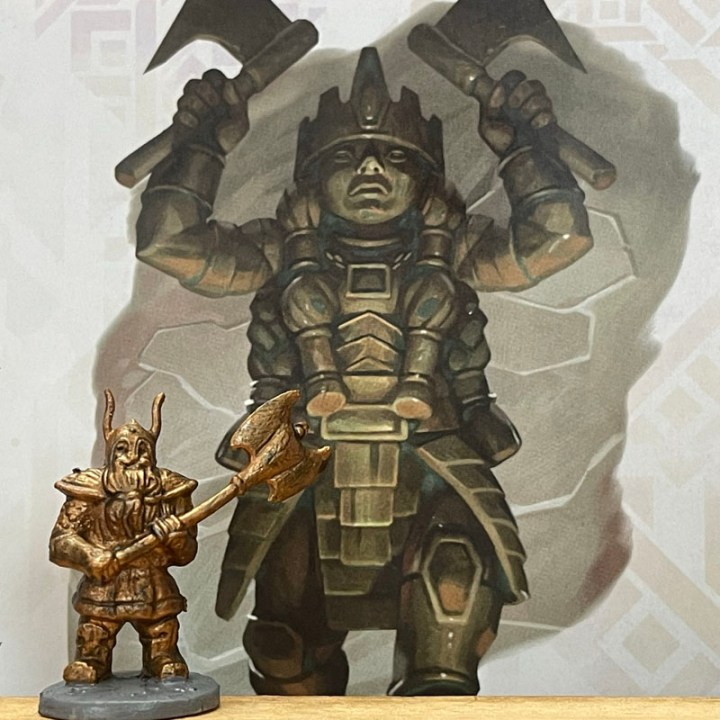
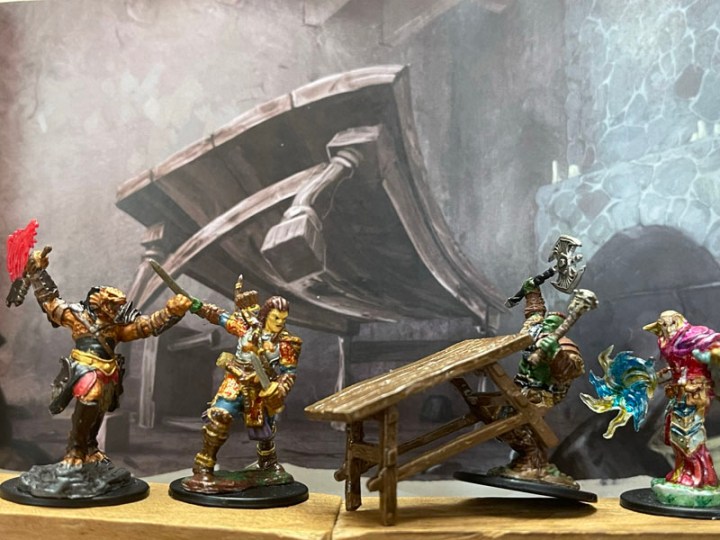
I really wish that the book included a picture of the whole room and not just the small insert of a single statue. A picture would have much more clearly presented the unique nature of this room. Any further spoken description about the exact positioning of the axes would immediately tip off the players that something is wrong, but a picture presents the more info without being obvious about it. My solution was no better. I have nine identical dwarf minis, but I needed most of them for combat, so I only painted one of them bronze. Even so, only one had his axe in the right position. I set out three “statues” on the battle mat, but two were painted as “adventurers”. As such, my players were convinced that there would be combat and proceeded to attack the statues. A picture would have been better.
Even the book knows that many players will attack these statues, since they included stats for them, but I fleshed them out a little further. I increased the AC to 20 and hp to 80. They are resistant to slashing damage, and immune to piercing and all spell damage except acid. Bludgeoning weapons do full damage (no one in my group uses a mace or hammer). Every player attack triggers an opportunity attack by the statue, and they reset automatically, but it takes an action for the arm to ratchet back into position, to tip them off that this is a machine and not a monster.
After what seemed to be ages, the group realized that the statues weren’t actually attacking them with intent. By now the statues were covered in dents, one had its head caved in, and another had an arm lopped off. Ignoring the statues, someone opened a false door and was rewarded with another axe blow, sparking another round of furious combat against a mindless trap. In the end, both fake doors were opened to brick walls, the players were covered in cuts and bruises, and the statues still stood looking completely mangled but the one with the dented face seemed to be smirking at them. We declared a draw and looked for secret doors.
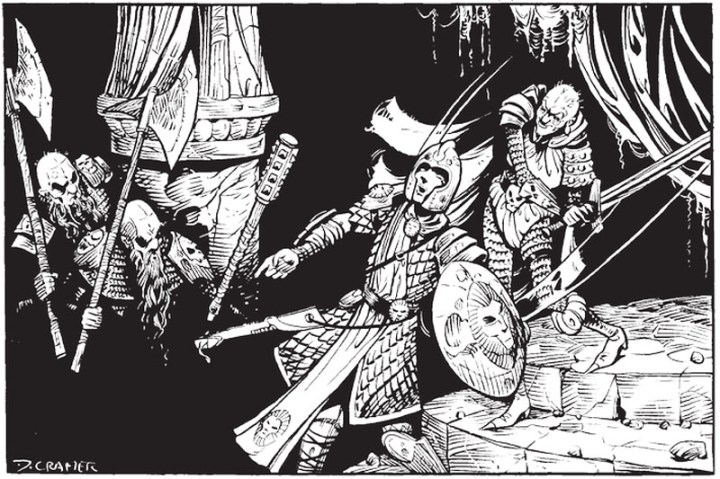
A door was found and opened, leading to another flight of stairs. Still taking no precautions, they triggered the magic mouth halfway up the stairs. They recognized the alarm as dwarvish, but since the only one who could speak dwarf was murdered back in Session 3, they had no idea was being said. Heedless of the danger, they forged ahead into the Great Hall. I read the description of the room but held off reading the second half with the invisibly spoken warning. My duergar are waiting to see what the players do. This allows my players a chance to focus on one of the specific and homebrewed mosaics on the wall.
This mural is plainly labeled “The Fall of Phandelver” and dated 951 DR (9035 in the dwarven calendar). This calls back to the ruined dungeon our players explored during the Lost Mine of Phandelver. The mural depicts the doomed coalition of dwarves, men, and gnomes when they were overrun by the vile orcs of the Uruth Ukrypt tribe. The mural looked as you would expect, except that the rampaging orcs were led by an unexpected group. A band of adventurers were at the head of the invading army, consisting of a human fighter, an elven mage, a dragonborn thief, and a half-orc barbarian. The exact same adventurers in my player’s group.
My players were baffled by this. They knew there was a connection, but they couldn’t figure out what. Was the group in the mural the ancestors of our current players? Maybe the players are the reincarnated forms of this older group of heroes? Is it fate, destiny, or just a weird coincidence? And why was this old group of “heroes” leading a tribe of evil orcs? These are all good questions but the guesses are all wrong. In another twist of fate in my world, after these orcs destroyed the Mine of Phandelver, they went on to sack this stronghold, the Forge of Fury, just two years after. Now, 500 years later, our heroes just killed the last remaining members of that orc tribe at the start of this adventure. Karma is funny like that.
My players didn’t have much time to ponder these things, for a disembodied voice rang out in the gloom, “Go back! This is the only warning you’ll get.” Expecting an automatic combat, I was thrilled that my guys decided to roleplay this encounter. I’m only running Forge of Fury so that my players can attack everything with impunity. It’s a chance to unleash their inner murder-hobo, after being stuck “playing nice” for so long during the Waterdeep: Dragon Heist campaign. But I’m always afraid that every verbal challenge will end with one player yelling, “Screw you, prepare to die!” Here they were trying to talk with the invisible NPC but I got nervous when none of them could think of the Make-A-New-Friend phrase, “We mean you no harm and are here to help.”
Worried that the “Screw you” option was imminent, I threw them a conversational bone. The invisible voice said, “You come from the orc side of the Halls, therefore you are in league with them.” Jack’s Eragon took the cue. “No, no, no, we’re not with the orcs. In fact, we killed them all. Here look.” Eragon took his portable hole and flung it up to the ceiling like a wet pancake. It stuck and out of the abyss poured dozens of severed orc heads. They bounced off the marble floor with a squelch and rolled all over the place. It was grim and macabre yet hilarious and effective. Convinced that our heroes were not working for the orcs, the invisible duergar revealed herself. Also, a half dozen other duergar appeared revealing that the entire party was completely surrounded. They were glad now that they choose to roleplay this encounter.
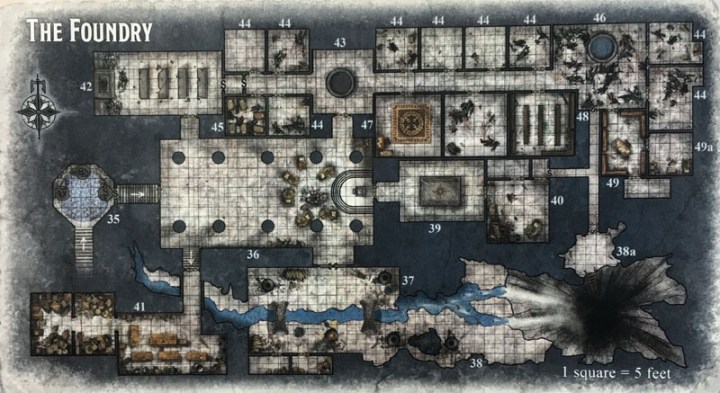
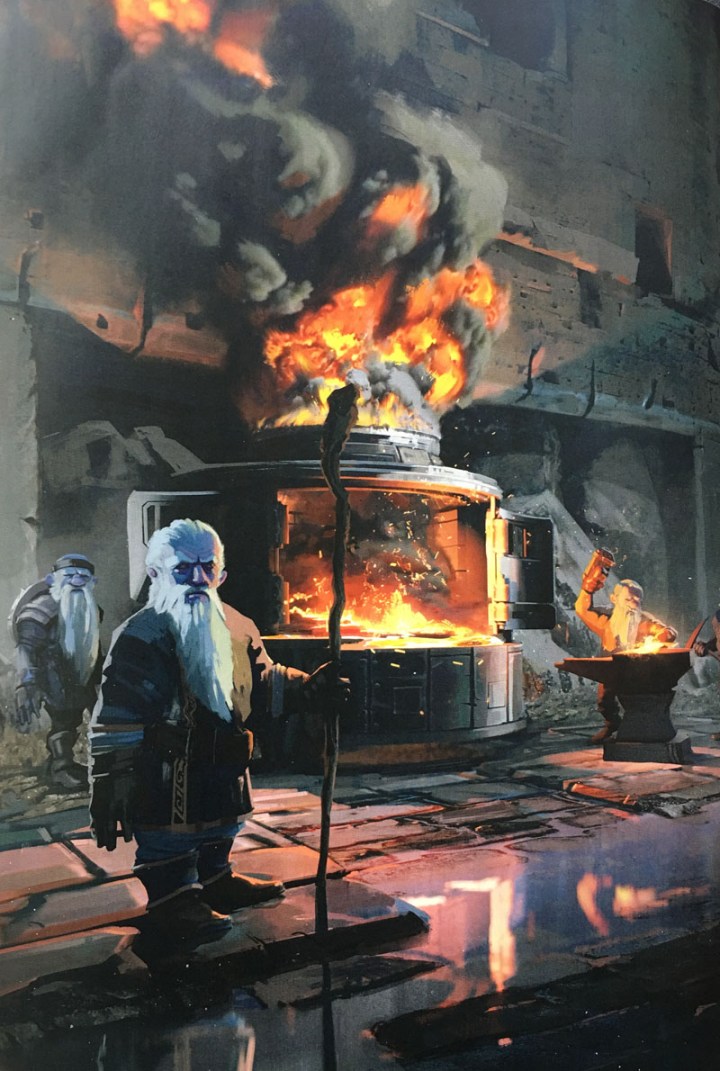
Introductions are made and names learned and promptly forgotten. Then our new duergar friends give our heroes a tour of this level and the infamous Forge of Fury. Finally, after weeks of hardship, my players have made it to the adventure’s namesake. And it is so boring! There’s nothing here. It’s just another blacksmith shop. Not even, since there aren’t any cool weapons or anything on display. There’s nothing except a few scraggly dwarves kicking the anvil, trying to make it work. What a disappointment.
This is the adventure’s biggest flaw, there is no motivation, no purpose for being here. There’s no evil plot to stop, no master villain to defeat, and no meaningful objective to achieve. It’s just a random dungeon to explore because it’s there. Sure, you might be on the lookout for some random weapons, or collecting a bounty on some orcs, but that’s it. There’s no mission to restart the Forge or reclaim Khundrukar (I bet you forgot that this is the name of this dungeon). There’s not even a reason to interact with the dragon on the lower level if you don’t want to.
Since I’m only running this dungeon as a Hack & Slash, I didn’t want to put too much work into it. But if I did want to turn the adventure into more of a quest, I would steal from “The Hobbit” and have a band of dwarves hire the group to reclaim the stronghold. This poses several questions that you will have to answer. Why won’t the dwarves do it themselves? Will the dwarves accompany the heroes? How will the heroes get paid? Who gets the loot? How do you handle the duergar, who also have claim to the area? And how do you restart the Forge?
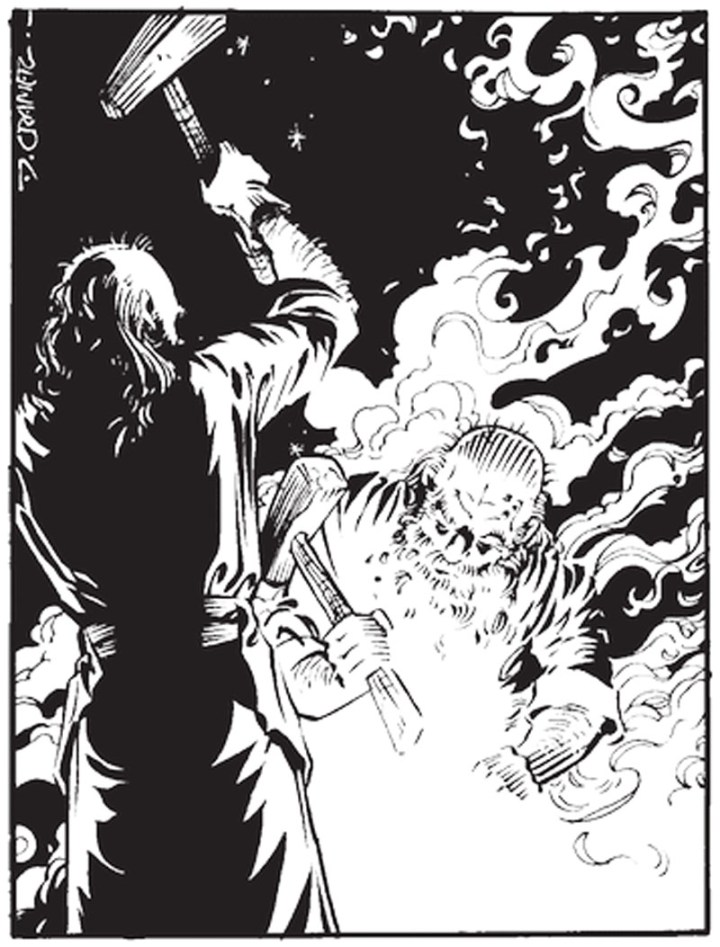
Since my group decided to spare these duergar, I added this last question into the adventure. The dwarves cannot restart the Forge and they need our heroes help. Two items are needed to bring the Forge back to life: Durgeddin’s Hammer (Bet you forgot that name too) and a large gem called the EverSpark. The EverSpark sits in the fire and imbues the Forge with magical energy while the Hammer is needed to mold the steel into magical weapons. The items are probably located in the northern wing of the stronghold but the dwarves have been unable to repel the undead that infest that area. If our heroes could retrieve these items, the duergar would be eternally grateful. Oh, and can you kill the thing in the kitchen? That would be great.
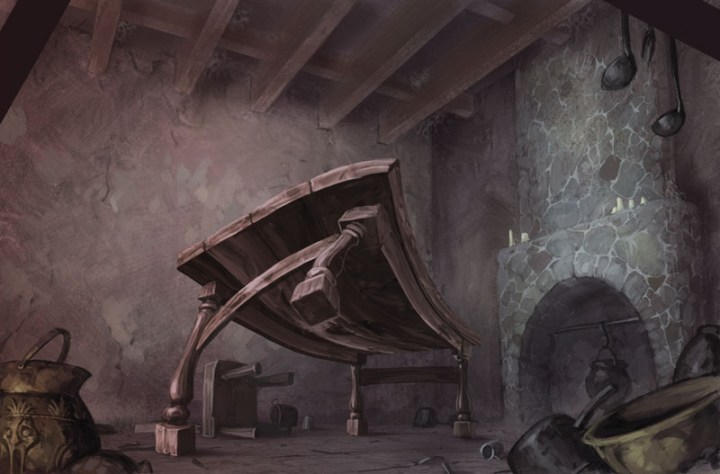
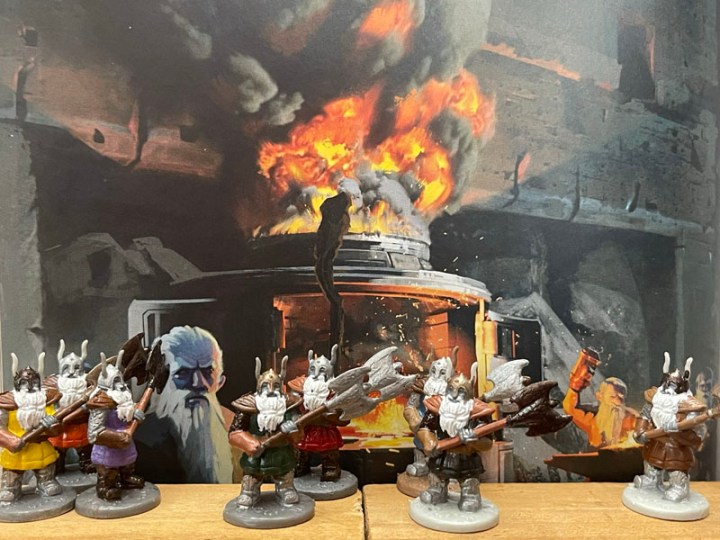
Like obedient quest-takers, the group heads into the kitchen. Good thing too since this is the cover art for the session. In the kitchen is an Animated Table that only attacks non-dwarf character. I really like this quirky detail and I wish that the dwarven cleric was still alive to use this feature. But alas, he’s dead and the table immediately attacks the party. The fight was surprisingly hard and nearly lethal to the half-orc barbarian, who rolled abysmally low during the battle. Not bad for a plank of wood.
But in the end, a poor wooden table was no match for seasoned adventurers armed with axes. Soon the plank of wood lay splintered. Riandon was very upset. He wanted to keep the thing for his zoo. Despite the fact that it isn’t a monster, it would fight him constantly, and eventually he can just animate one of his own. No, it had to be this table. At the end of the adventure, Riandon dragged this thing back to his wagon and drove it all the way back to their tavern in Waterdeep. While the rest of the party is collecting skulls and heads to mount on their wall, this guy is shopping for knick-knacks and furniture.
Heading north, the party dispatches a group of undead loitering about in a random room. I’m just really glad that I got to use my dwarven skeleton minis. Why do I own these very specific and limited use minis? Don’t know. Afterwards, the group is stymied by a pair of secret doors. They found the first, but couldn’t find the second, even though they knew it should be there and they were rolling with advantage. So, they wandered back down the hall into the next available room.
This room is out of place with the rest of the dungeon since it is not filled with bone and rubble. It is quite clean with a beautiful carpet covering the floor. Hey kids, here’s a tip: If a DM ever describes any kind of carpet laying on the floor, it is a Rug of Smothering and will try to kill you. Or it is a Mimic pretending to be a rug and will try to kill you. If the rug is rolled up in a corner, it’s a magic carpet. Otherwise, it will try to kill you.
Of course, my players don’t have the luxury of reading my blog before the adventure, so Regizar strolled onto the carpet and was immediately enveloped and began suffocating. This session was rather bland, but at least every player got a chance to be the focal point of an encounter. Since my players are higher than the recommended level and the carpet is listed as huge, I doubled it’s hit points and allowed it to grab up to 2 players at the same time. Soon Eragon was also grabbed but managed to squirm his way out.
Regizar was not so lucky and began taking damage from smothering and from his own players since every time they hit the rug, Regizar took damage too. Someone even suggested lighting the rug on fire, which would have been catastrophically bad. So naturally, Riandon cast Fire Bolt which singed both rug and hero forseveral rounds. Regizar never rolled high enough to escape outright and this is never good since the player can’t do anything and it’s horribly boring. So, on one roll where he missed escaping by just 1, I allowed that while he didn’t break free, he was able to grab one of his daggers. This pleased him just fine. He stopped bothering to escape and began carving up the carpet from the inside. It became race to see who would die first.
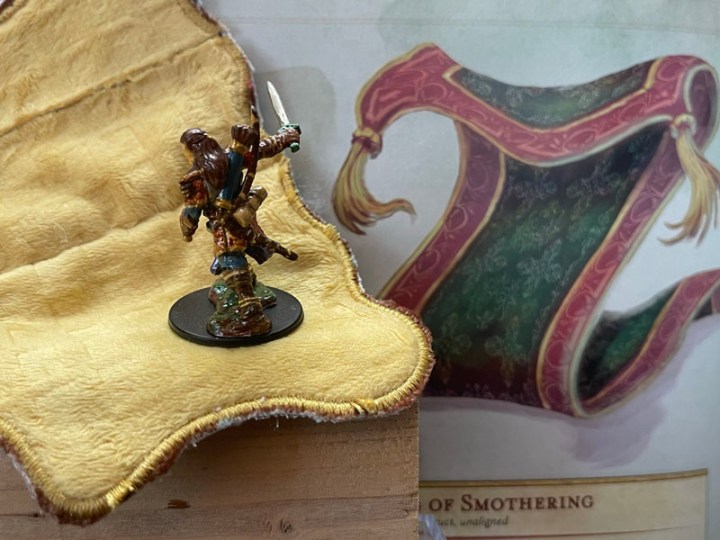
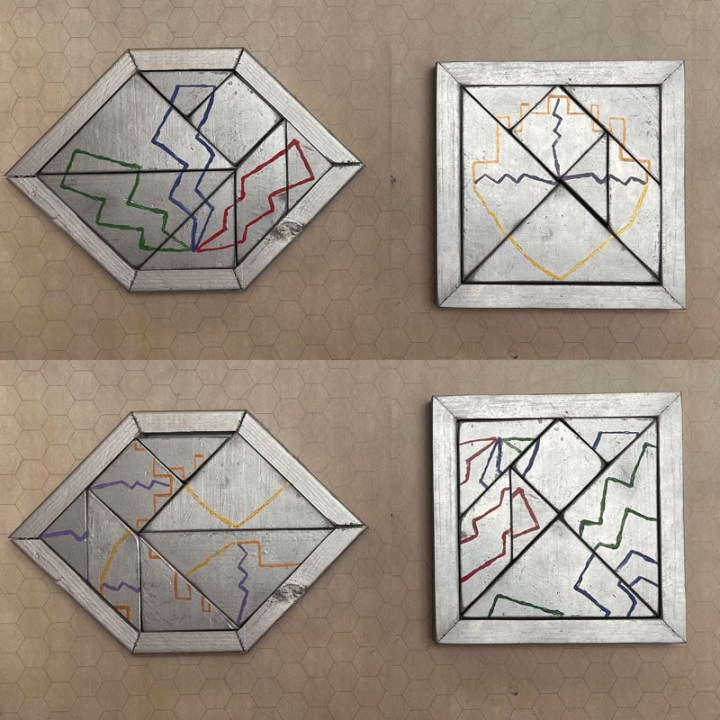
Technically, the carpet won this contest as Regizar rolled out of its folds panting for air after slicing a huge rip in the heart of the rug. Riandon was unhappy again, who rolled up the shredded and scorched rug and added it to his pile of unanimated trophies. While Regizar healed, the rest searched the room. In the book, this is a dead-end bedroom, but I added a secret door that connected to another (previously empty) room. They didn’t find the door per se, but instead found an odd plaque hanging on the eastern wall. It was a hexagonal frame made of silver metal, exactly like the circular key found earlier that opened the doors to this level. But the key was too small for this lock. Did my players have anything else in their inventory that would fit?
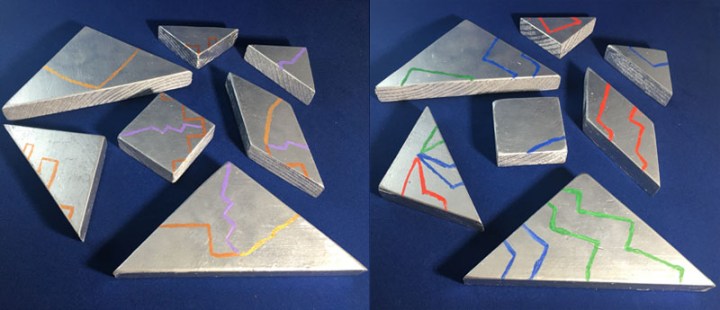
If fact they did. Way back in The Lost Mine of Phandelver Session 14, my players found several silver blocks that, when assembled, created a puzzle lock to open the final room of the dungeon. But that puzzle was square, this one is a hexagon. I had saved the pieces from that puzzle from nearly two years ago and handed them to the players, stating that one of them still had them in their backpack.
Two of my players (Andrew and James) had already solved this puzzle when it was originally presented. But the other two (Jack and Nick) were new to the campaign and had not seen this yet. They didn’t know that the puzzle has two solutions, one square and the other hexagon. We got to relive the joy of watching these two solve the puzzle. Again.

I had always intended to connect the Lost Mine of Phandelver and the Forge of Fury in this way. It is all part of my final campaign involving the Ageless One storyline. All of the adventures in Tales From the Yawning Portal will have some connection to that story; either by advancing the plot or gaining an item they will need for that campaign. Having two versions of this puzzle proves this connection. The two symbols on the solved puzzles are for the (ancient and dead) Netherese Empire and Talos the god of Chaos. My players know this and coupled with some other handouts and a prophesy, they have some tantalizing clues about future events, but they don’t know what.
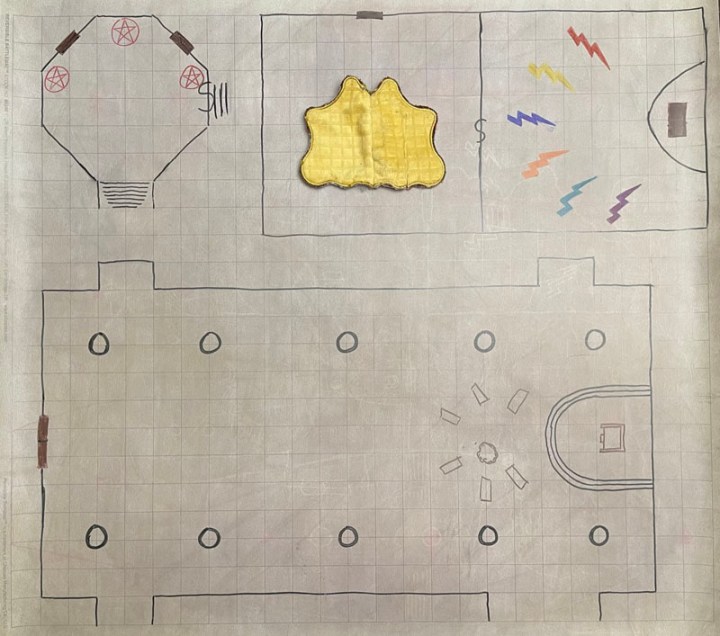
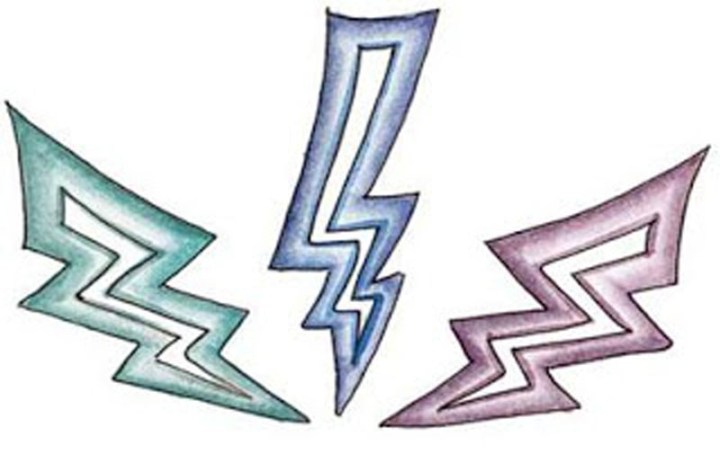
Once the puzzle pieces are in place, a section of the wall disappears, opening into another large room. This room is empty in the original adventure. Now, it looks like a shrine with a stone altar on a dais along the eastern wall. The room has no markings except for six lightning bolts etched on the floor. Each bolt has a different color; red, yellow, blue, green, orange, and purple. The altar itself has no marking except for another silver frame, this one square. Obviously, the second solution to the puzzle. But this room also has a trap.
I specifically ask where each player is standing; DM code for something’s about to happen. Eragon is at the altar solving the puzzle, Regizar is standing on the blue lightning bolt, and the other two are in the room but not on a bolt or at the altar. When Eragon solves the puzzle, nothing happens. Eragon’s Jack quickly guesses that the lightning bolts are the key. “Everyone, stand on a lightning bolt.” Regizar stays on blue, Unga-Bunga is on the green, and Riandon picks purple.
When Eragon solves the puzzle, Riandon is struck by lightning through the floor to the tune of 4d8 points of damage. Not enough to kill him, just enough to hurt. Again, Eragon figures it out. “It’s the colors of the symbol. Blue and Green are good. Riandon move to the red bolt.” Moving to the red bolt and solving the puzzle again works. No one is struck by lightning and a panel opens on the altar.
Inside the altar they find a small black pouch and nothing else. Inside the pouch are three small orbs, exactly like marbles. Inside each orb glows a swirling vortex of smoke, one red, one blue, one green. When the three orbs are removed, three more appear in the pouch, but this duplication only happens once. Is that it? What does it mean? What do these do? What is the connection between the Netherese and Talos? Why are none of my players concerned that the evil god, Talos, is involved with all this? As my players pondered these questions, we ended the session.

Check out my Forge of Fury Resources Page for even more tips, advice, charts, and all the maps, props, and images I used to bring this adventure to life.
Next week, we conclude our adventure with some epic fights against some more unique undead, a sly succubus, and of course, the ubiquitous black dragon. And if that wasn’t enough, we get some cool PvP fighting as well!
As always, like a rug of smothering, if Talos is involved, he will try to kill you, and Game On!
The Ageless One will rise, and Chaos will fill the void – The Prophesy of Aluondo, which my players should really be paying more attention to.

I’m looking forward to next week’s session. Thanks for this report, entertaining as always, even if not that much happened. But getting an insight into how players, especially a group of younger players, will interact with such an adventure is great.
LikeLiked by 1 person
I’ve found that children are not much different than adults, mostly. Some are naturally great and some are just as likely to refuse to follow the story. I do find that kids have a harder time thinking of a good reaction to the presented encounter. “Good” doesn’t mean proper or even helpful to the situation so long as it seems reasonable and true to the character. But when a kid loses his way, it veers straight over a cliff into an agonizing spiral of stupidity. Such as what will happen when we return to Waterdeep and two PCs spend two hours shovelling shit.
LikeLike
Reblogged this on DDOCentral.
LikeLike