

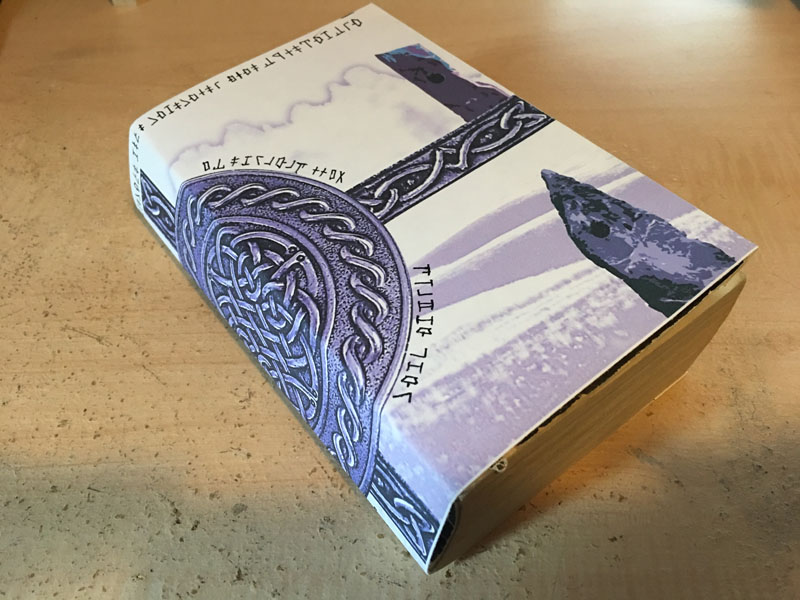
The Forge of Fury is the second adventure presented in the 5th edition compilation book, Tales From the Yawning Portal. It is the follow-up adventure to The Sunless Citadel, first developed for the 3rd edition D&D back in the year 2000. Designed for PC levels 3 – 5, the adventure has your heroes explore an ancient dwarven ruin searching for treasure and magical weapons. Competeing tribes of orcs, troglodytes, and duergar have claimed different levels of the dungeon. And there dozens of nasty traps, bizarre monsters, and other surprises awaiting your players down below, including a very ill-tempered black dragon. Will your party survive the secrets of Khundrukar and live to tell the tale? Buckle your armor and let’s delve in.

What follows is a complete overview of our experience playing this adventure. Bear in mind that my players were mostly 6th level when we started the adventure, so I had to boost almost all of the monsters in abilities or numbers to make it challenging for my players. We also had some significant roster changes to our party. How will this affect us as a group?
There are five sections to my overview:
The Campaign Diaries – Following a strange map because that’s what heroes do, our adventurers stumble into a dwarven ruin filled with orcs, troglodytes and worse. And yes, there is a dragon. It’s called Dungeons and Dragons for a reason, folks.
The Charts – I always make at least two charts to organize my adventure; an Encounter List and a Monster Stats sheet. I’ve included charts from the base adventure and my modified version for higher level characters.
The Maps – All the maps that I used to run The Forge of Fury, including DM and PC versions from the 5th edition reprint and the original adventure, plus some custom maps. The Player Maps have all hidden locations, traps, and secret areas removed.
The Images – They say a picture tells a thousand words, so I included all of the images I used to help tell my story, including those found in the original printing of the module.
The Extras – I used a few handouts during the course of the adventure, mostly to set up the adventure and later to tie the adventure with some homebrewed content. I usually print them using a variety of construction and specialty papers cut to fit my printer. The Handouts can be printed as is or used as a starting point for your own creative spin.
If there is anything else that you think I should have here to help you run your own campaign, please leave a comment.
Campaign Diary
 Session 1– Following an ancient map, our heroes discover a lost dwarven stronghold and are immediately ambushed by orcs.
 Session 2 – While attempting to sneak into an orc stronghold, the DM gets furious with the players and goes for the Total Party Kill.
 Session 3 – Our heroes descend into the Glitterhame, the roster changes again, and we attempt to subdue a classic old school monster.
 Session 4 – While searching for a familiar key, our heroes nearly drown and almost get eaten by a rock. And one of them is murdered!
 Session 5– We find the Forge of Fury, un-animate several items, and an old puzzle returns to haunt us again.
 Session 6 – We conclude our adventure with cool fights against some undead, a succubus, a dragon, and even some justified PvP action.
The Charts
For every adventure I run, I always make two charts that harken back to the old school module design, to better organize my campaign. First is an Encounter List that includes each room at a glance, including its location, monters and NPCs, traps, treasures, experience points earned, and any other special features of each room.

Second, I like to have a Monster Stat sheet that has every monster and NPC in the adventure listed with all of their important stats all on one page. This saves me from having to search multiple books looking for a random stat while in the middle of combat.
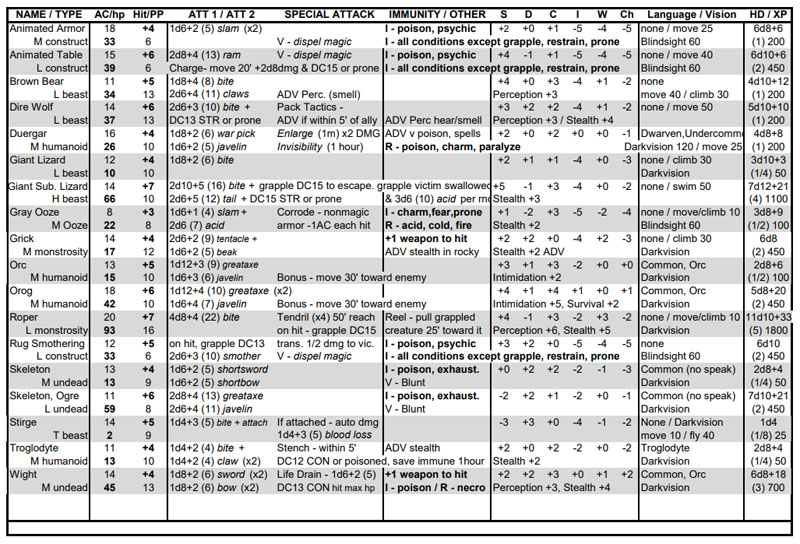
These stat sheets should be self-explanatory, but for further details about them and to check out all my other DM charts and aids, check out my Dungeon Master Resource Page.
When I ran my players through this adventure, they were between 4th and 6th level, which made them too powerful for this 3rd level adventure. I’ve included a modified Encounter List and Monster Stat sheet, adjusting most of the encounters to reflect their higher level and adding some new traps. I included all of the upgraded NPCs and additional monsters that I used in the adventure, such as the expanded Orc Tribe, various Horrors, and an alternate version of a Young Adult Black Dragon. Here are the links:
Forge of Fury Encounter List modified
Forge of Fury Monster Stats modified
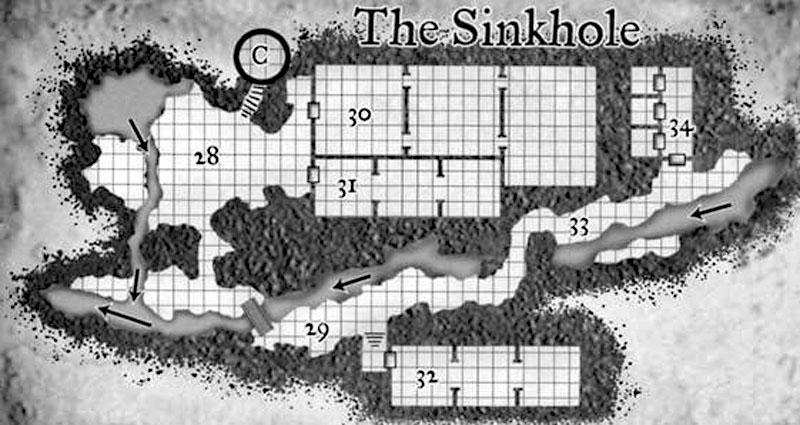
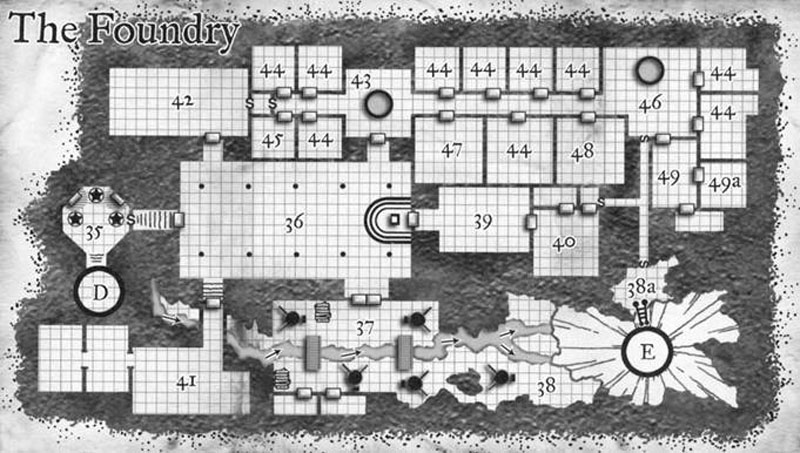
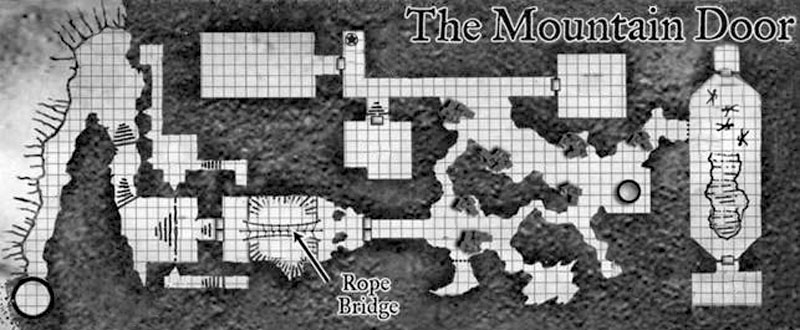
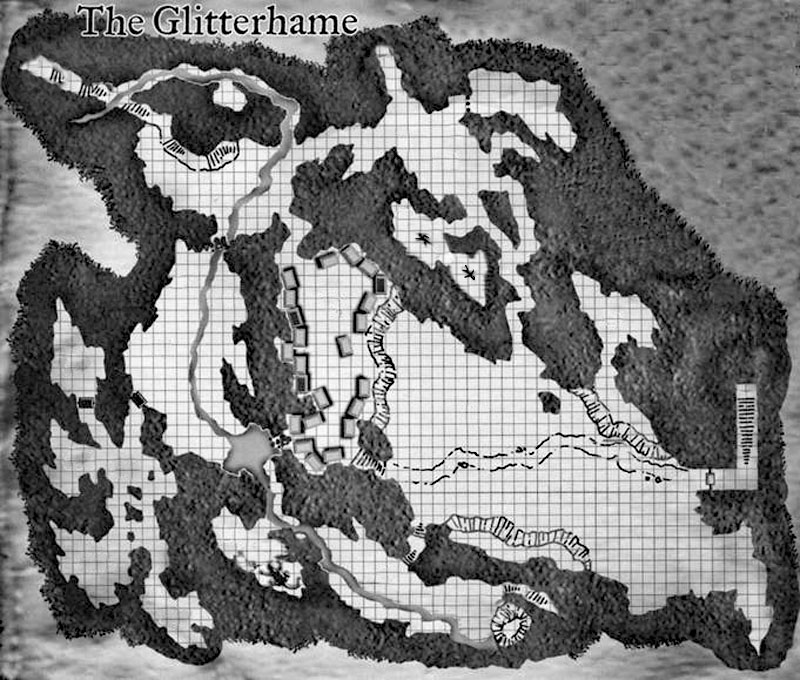
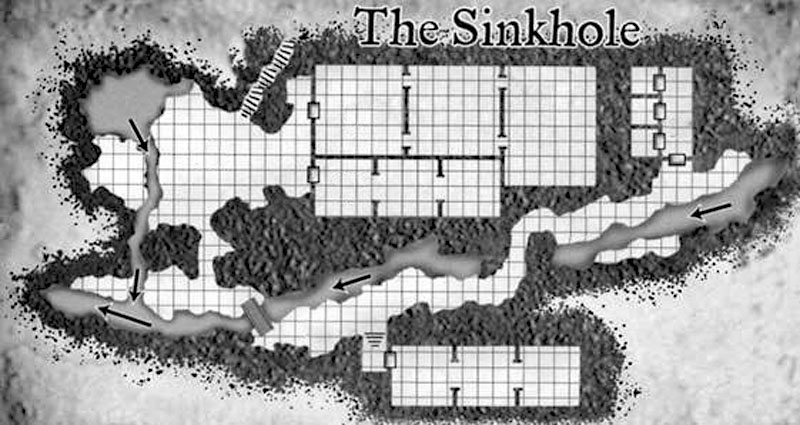
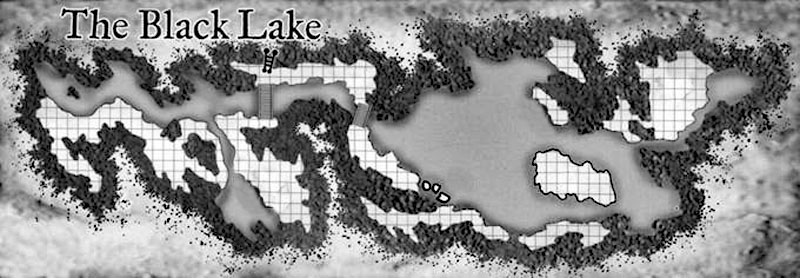
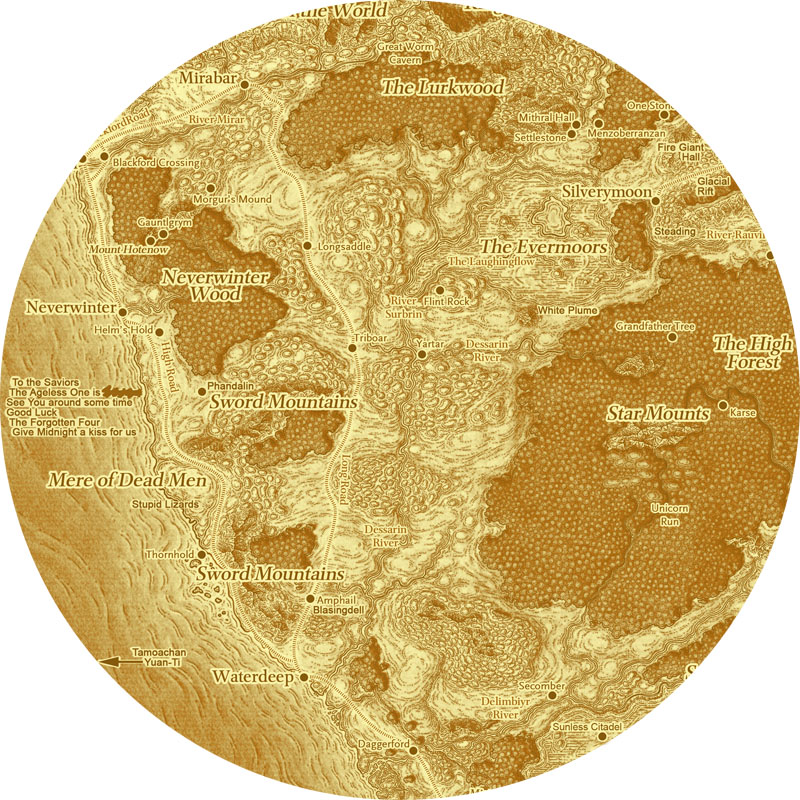
The Maps
While the maps that come with the Yanwing Portal reprint are prettier and more artistic, I actually prefer the black & white version that came with the original. I especially like the cross-section map that showed how the various levels were stacked atop one another. I have included both sets to let you decide. I have also included both the Dungeon Master copy that came with the adventure and my own Player Character versions, that have removed all the room numbers, secret doors, hidden passages and other info that you don’t want them to know about. Until you spring it on them, that is. I also modified the Foundry level slightly to tie it in with my homebrew campaign and added a new puzzle.
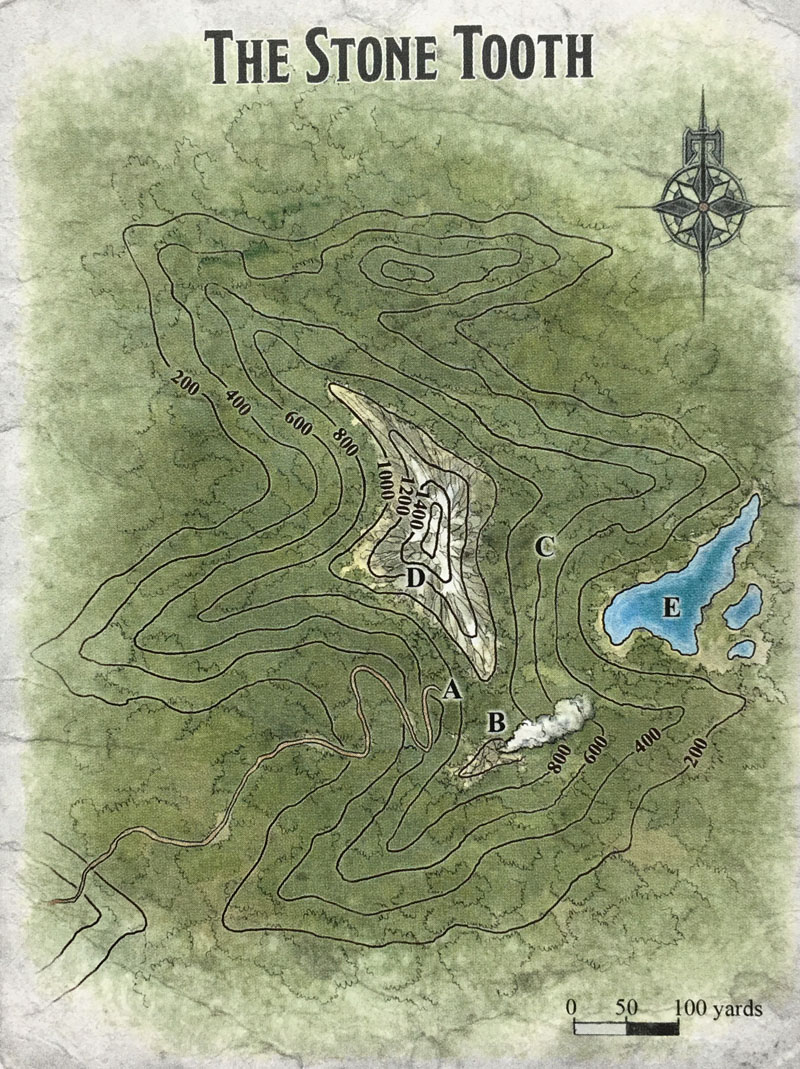


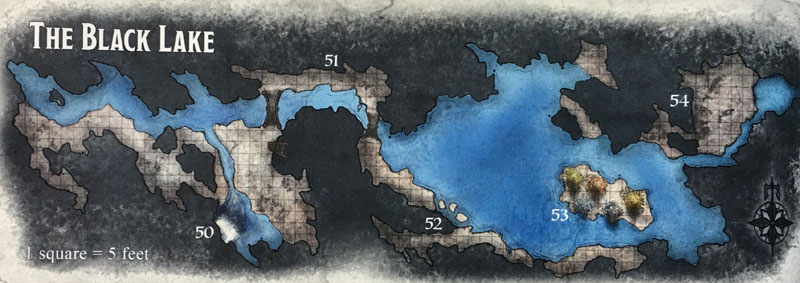

Here are the Player versions of the above maps.


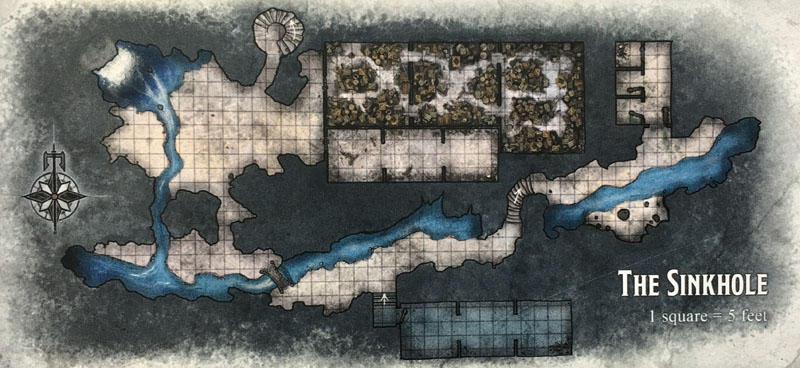
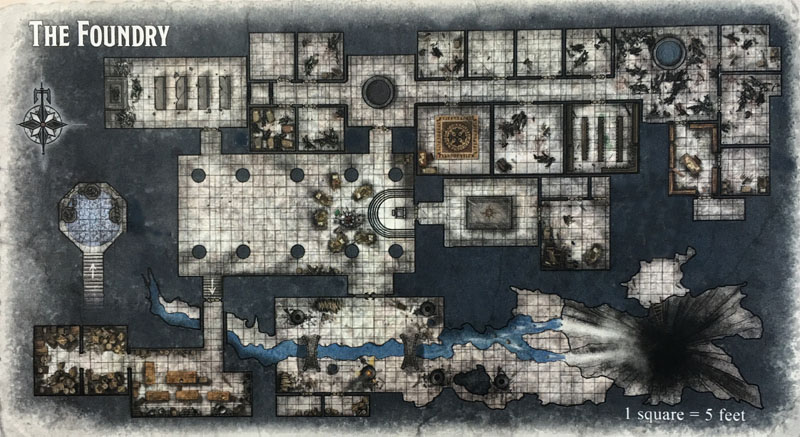
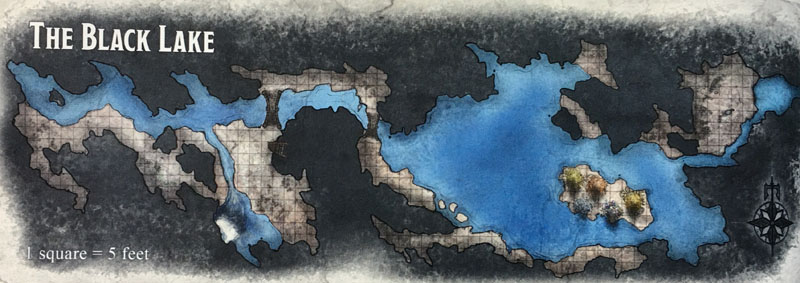
The following maps were included with the original printed module.


And just to complete the collection: The orignal maps – PC versions.

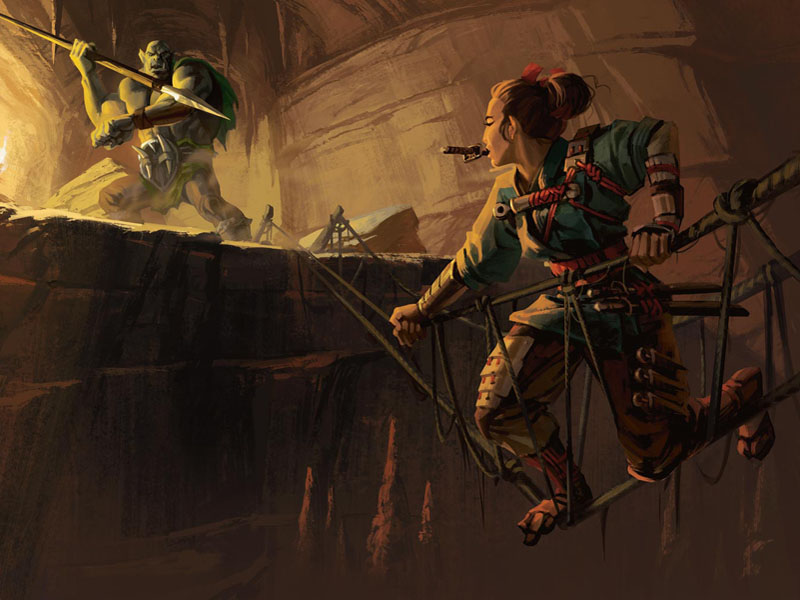
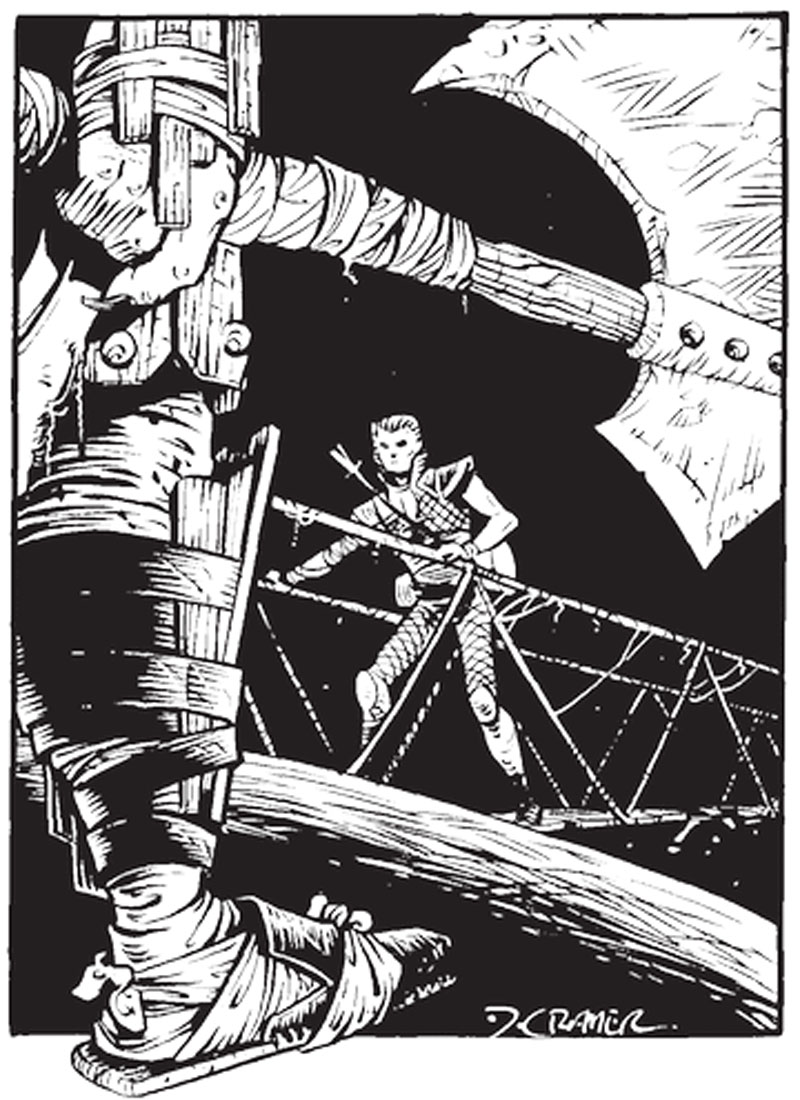
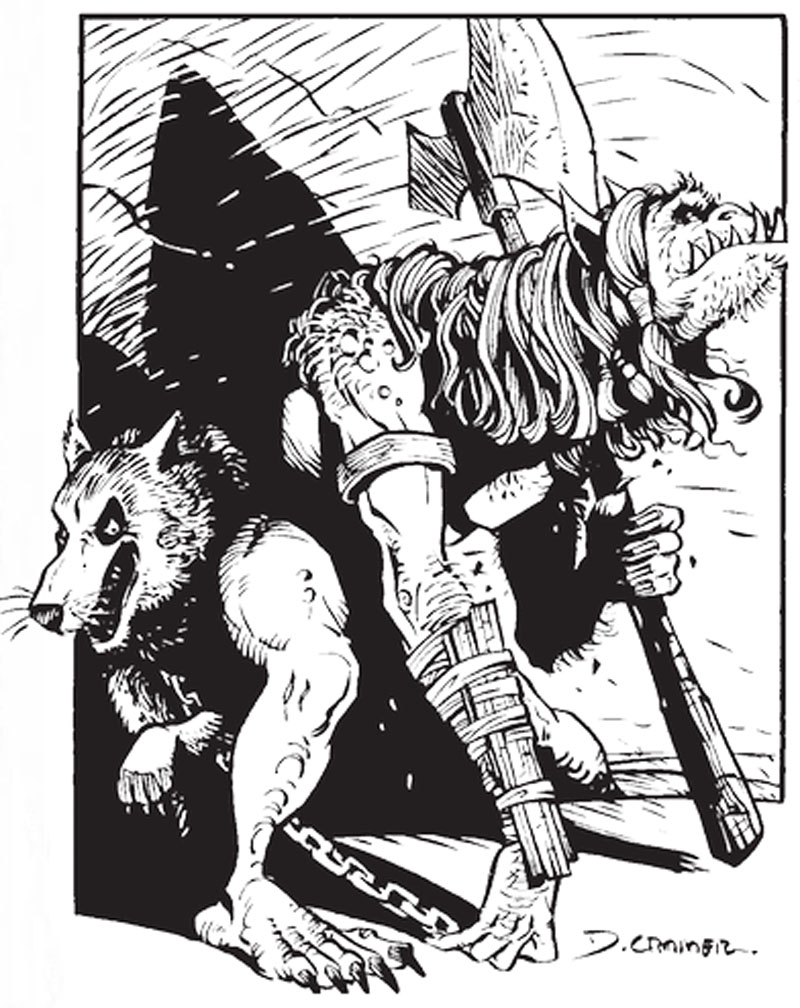
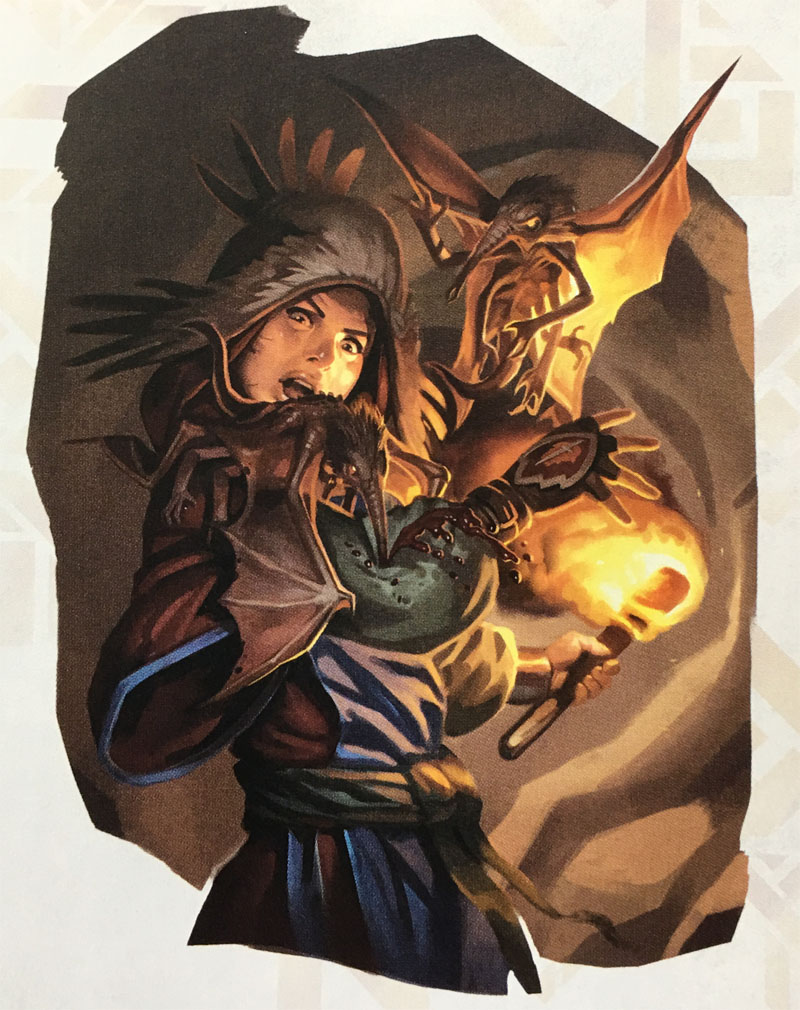
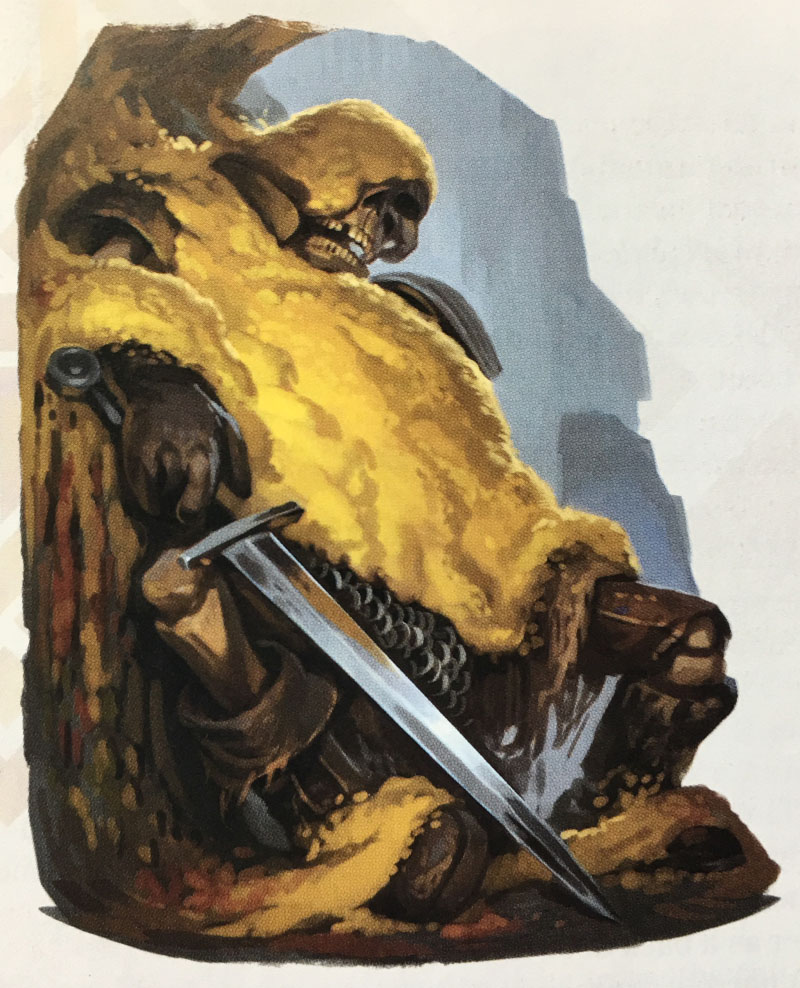
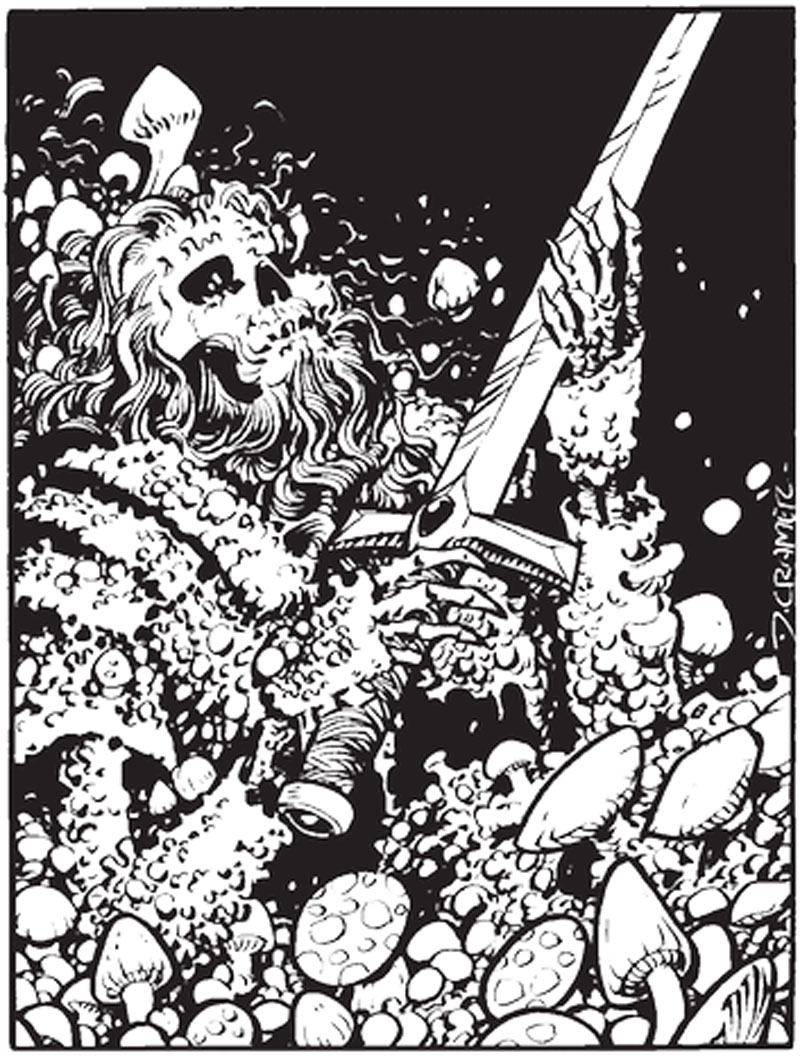
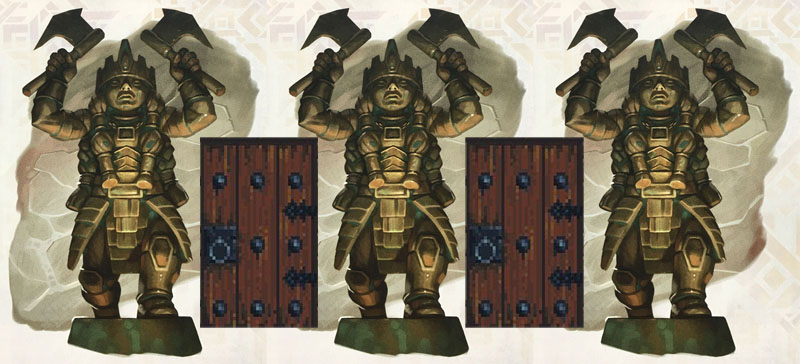
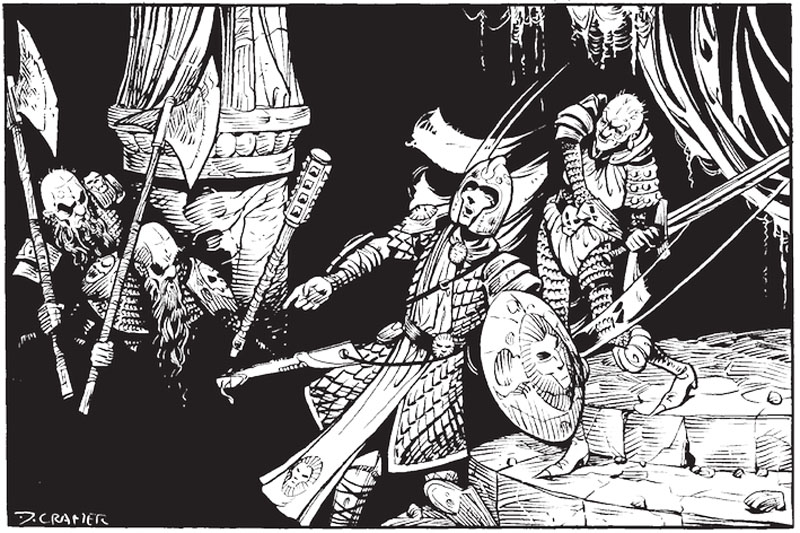
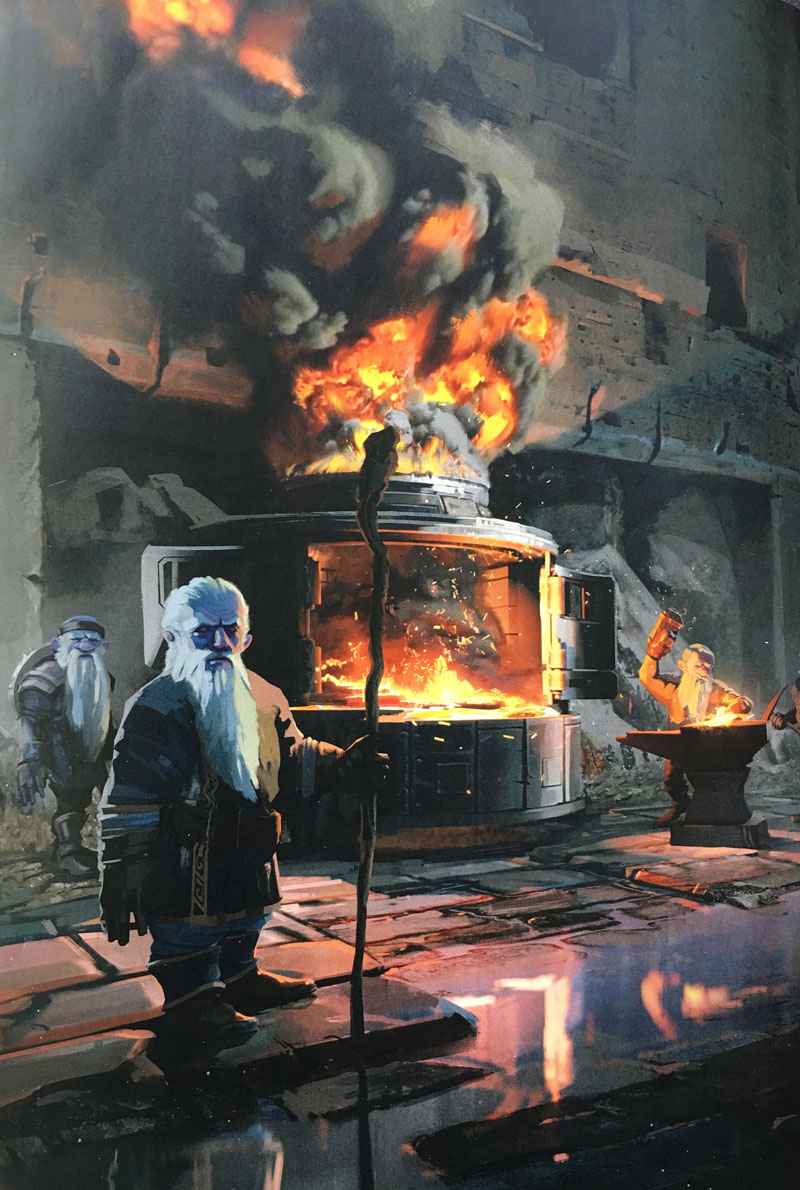
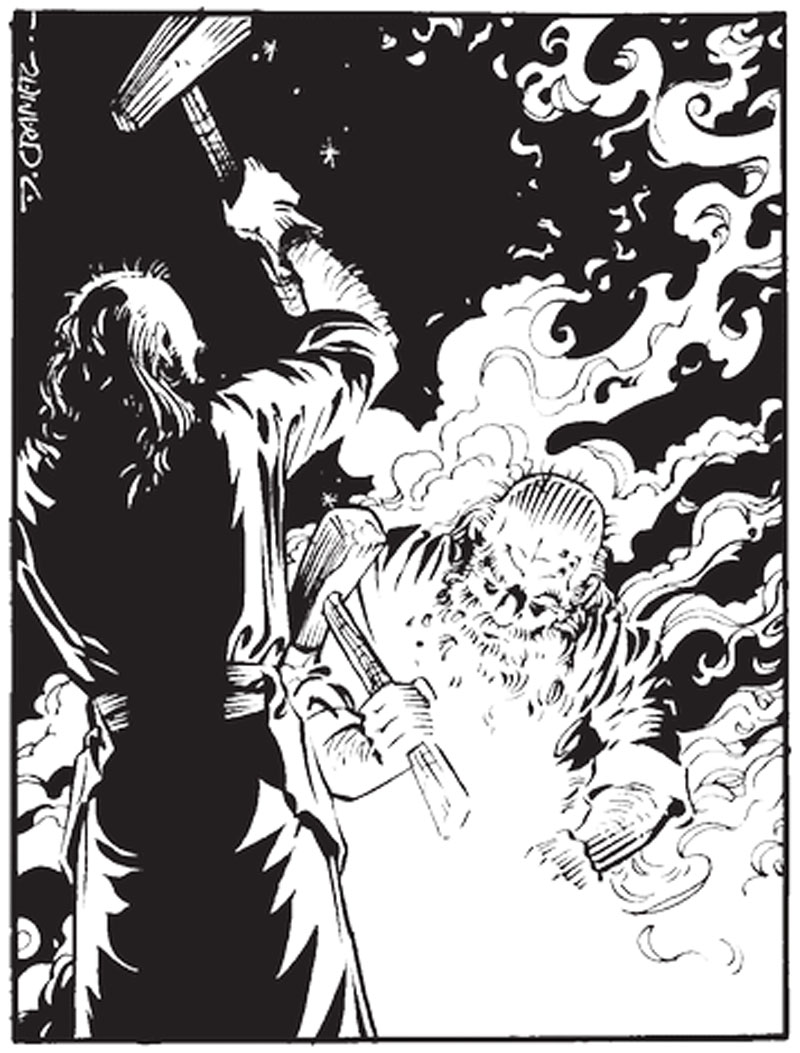
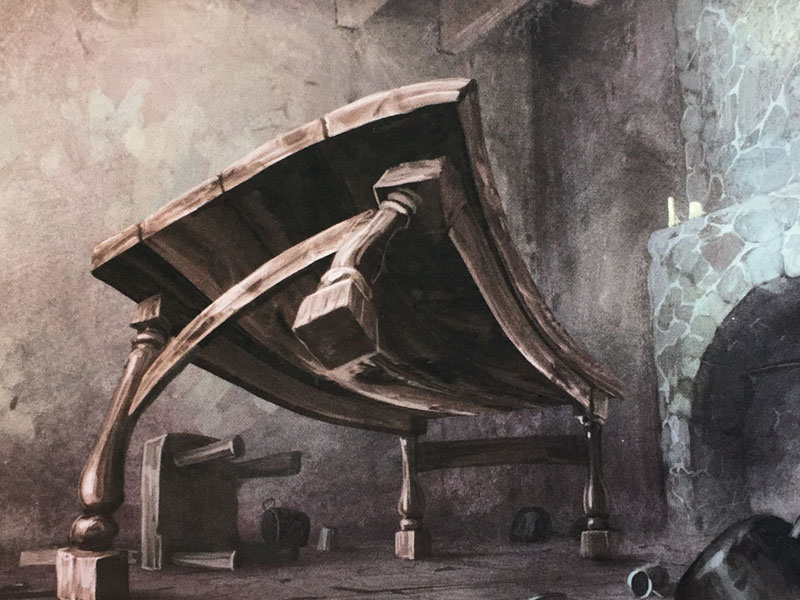
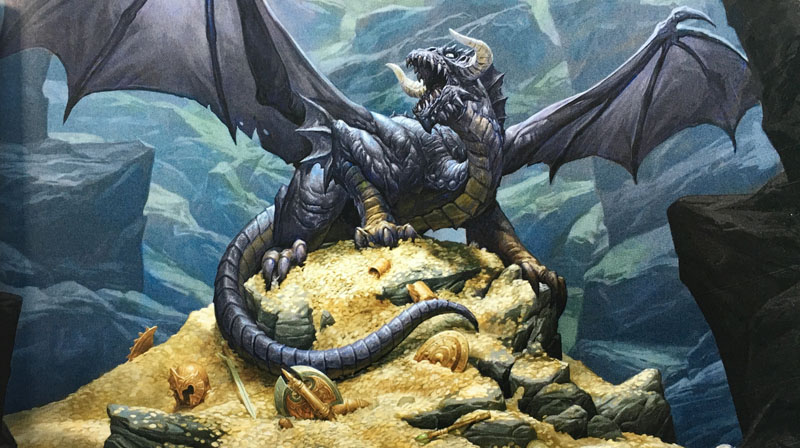
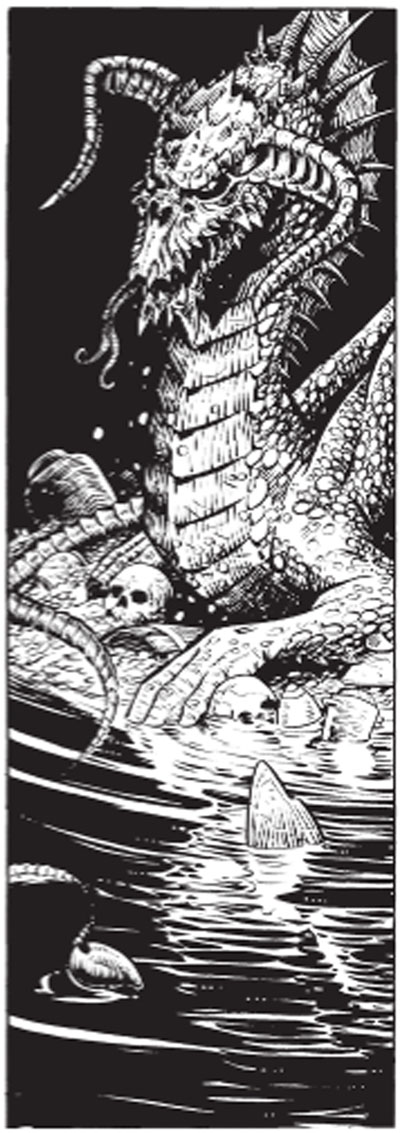
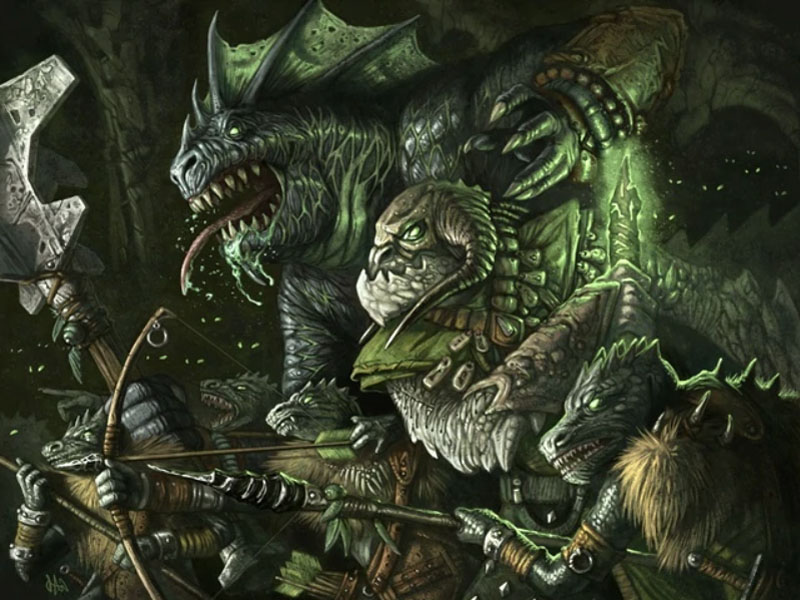
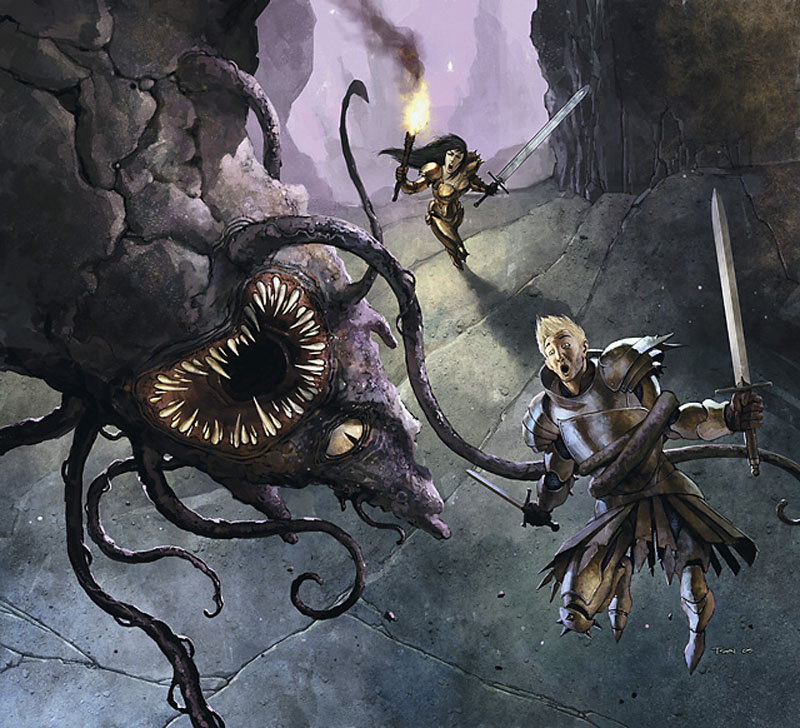
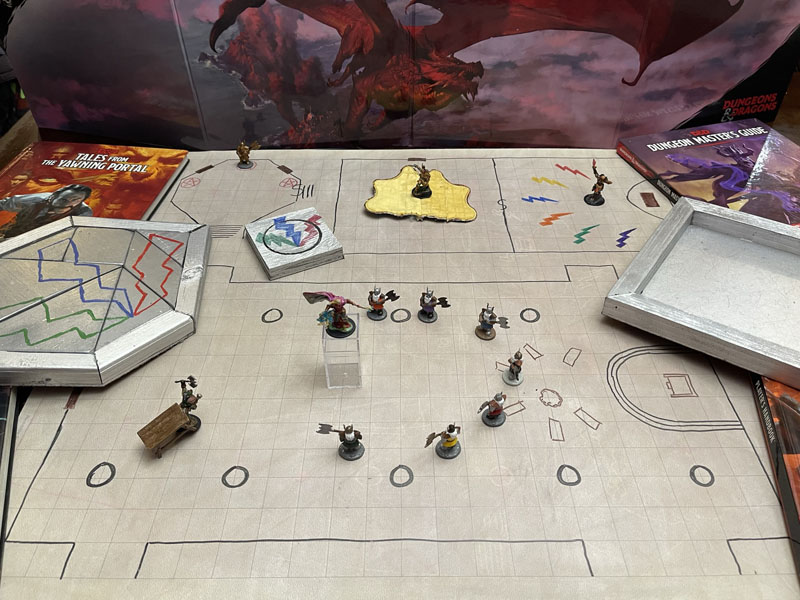
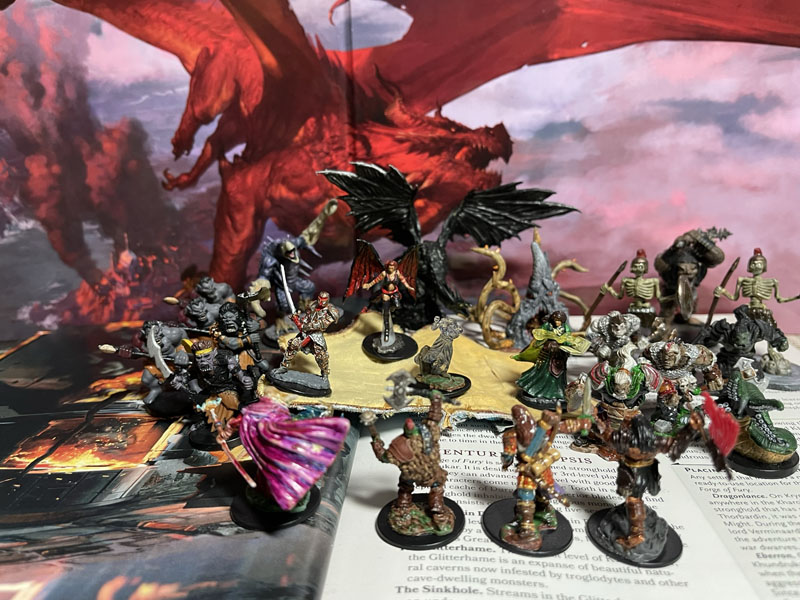
The Images
These images will be arranged in roughly the order they would be encountered, mixing both reprint and original artwork. Just in case it isn’t obvious, the color pictures comes from the Yawning Portal reprint, while all the black & white drawings are from the original. I’ll also include a few others that I appropriated (i.e. stole) from other sources. Okay, they say a picture is worth a thousand words, so I’ll shut up now.


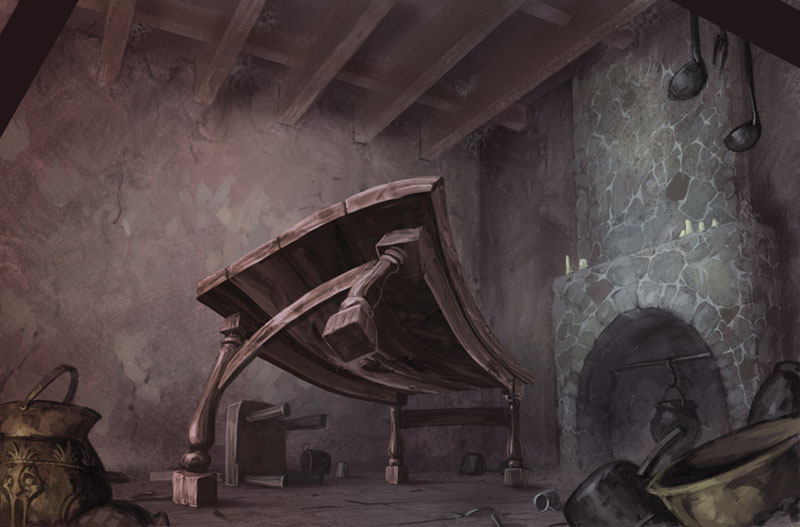
A few extras images from unnamed sources.
The Extras
I used a few handouts during this adventure, most of which were introduced over a year ago during the Lost Mine of Phandelver campaign.


So that’s about it. If there is anything else that you wish I had included in this Forge of Fury Resource Guide, please let me know.
And if you like these Resources pages, then check out the ones I’ve created for the other campaigns I’m running at the D&D Campaign Resources Page.

As always, it’s better to show than tell, and Game On!

Thank you! Awesome resources!
LikeLike
Thani tou Very mucho good sir, amazing content. Curiously I founded this page while trying to figure how to start this adventure with a 4th level group. Finding this page was a bless!
LikeLiked by 1 person
Sorry for the typos. My phone’s autocorrect was into Spanish…
LikeLike
I’m so glad you liked it and found it useful. Glad I could help and let me know how the campaign goes. I love to hear how other DMs handle the same adventure.
LikeLike
Fantastic stuff. I’ve used this a bunch as I have written about our play-through. Thanks!
LikeLiked by 1 person
I glad my stuff was useful. I love how you wrote the novelization of your play through. I always want to do more of that.
LikeLiked by 1 person
fantastic resource! thank you!
LikeLiked by 1 person
You’re welcome.
LikeLike
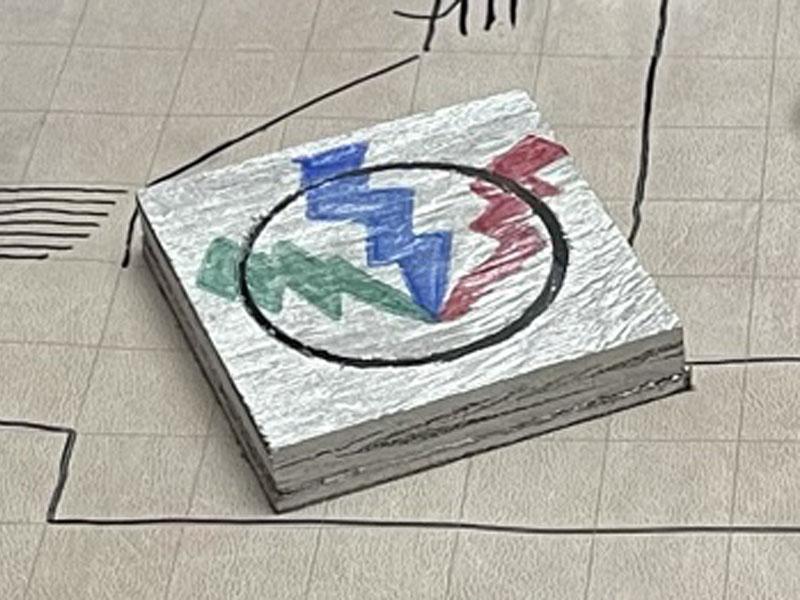
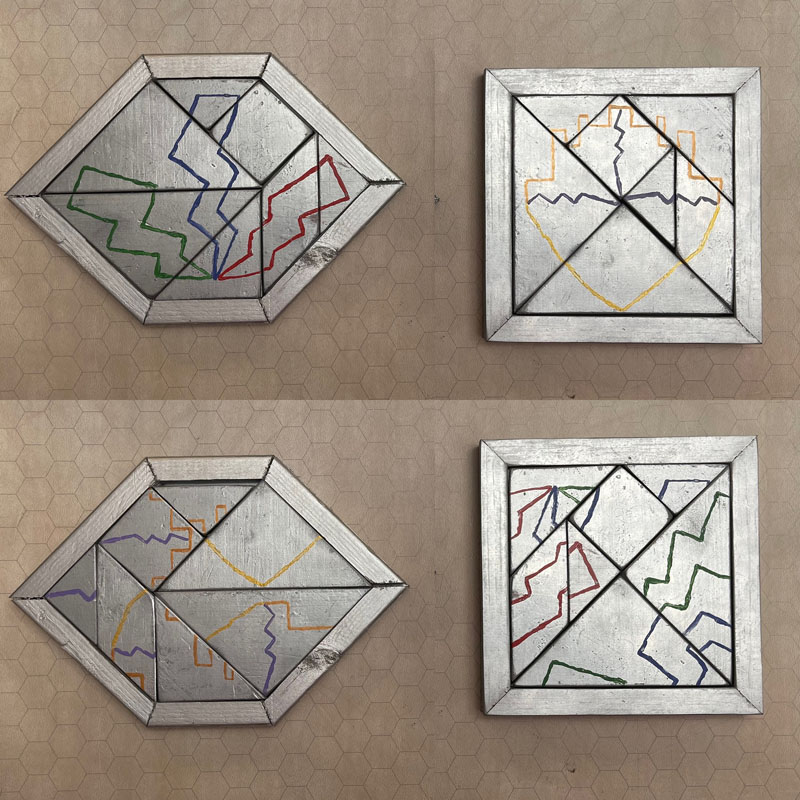
Awesome resources and a real life saver to me today! Those puzzles look hella cool.
LikeLiked by 1 person
Thanks. I’m glad you could use them. The puzzle isn’t hard to make and you could even make one using paper, if you don’t want to use wood.
LikeLike
Amazing stuff, thank you very much.
I ran an initial group through this, and now need to scale things up a bit for a second group. Do you have your planning ‘sheets’ in an XLS or Google Sheet so I don’t have to reinvent the wheel?
Thanks in advance.
Blake
LikeLike