Our heroes tackle the toughest trap in the dungeon, suffer a nasty betrayal, and get railroaded by “The Architect”.
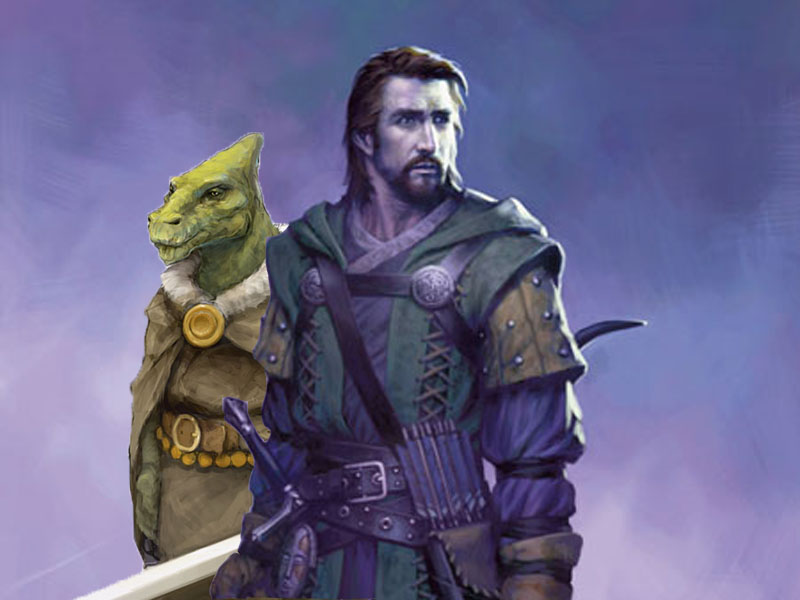
When last we left our heroes, while trying to get past a vampiric door, they stumbled upon a magic mirror in a gladiatorial pit. After Gwen got sucked inside the mirror, our heroes smashed said mirror, releasing Gwen along with nearly a dozen other monsters and victims, most of whom thanked our heroes by attempting to murder them. But not everyone was a homicidal maniac. Among the good guys was a palace guard from when Omu (the ruined city where this Tomb is located) was still a thriving capital over one hundred years ago. The other was Dragonbait, a well-known and well-liked ally last seen in Session 31 with another important NPC, Artus Cimber. They’ve rescued Dragonbait, but Artus is still trapped somewhere in the dungeon.
After that exhausting fight, they wandered into Acererak’s Throne Room where they got into another big fight with another Zombie Tyrannosaur Rex, another vital Skeleton Key, a bunch of Blind Painter Zombies, and Gwen after she was possessed by the spirit of a rampaging minotaur. I know; it all seems so fantastical to be barely believed. In addition, this Zombie T-Rex is special. Years ago, this undead dinosaur killed and ate Bag of Nails’ son, Sack of Screws. Of course, the first thing this T-Rex did was to regurgitate the zombified corpse of Sack of Screws, forcing the already distraught father to put down his only child once more. But Bag was able to subdue his son and insisted on dragging the zombie through the dungeon until a cure could be found.
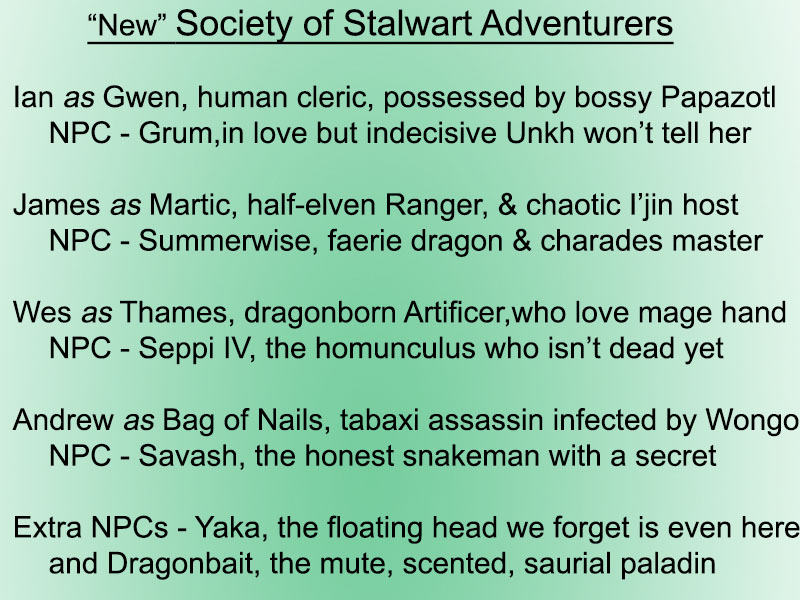
Following that trauma, the group got a little cocky and didn’t take precautions in the Tomb of the murdered Omuan Queen , Napaka. They got a lot of treasure, including a scepter that may save their lives later, but they set off a bunch of traps and very nearly died except for some incredibly lucky saving throws. Sadly Lukanu, the ancient warrior guard, and Sack of Screws were killed once more. The rest of our heroes were badly hurt and I refused to give them another short rest, forcing them to waste more resources to heal. One last thing; all the heroes (except Thames) are possessed by various spirits that have altered their personalities, and Bag of Nails is currently rewarded (cursed?) with the Gift of the Ghoul, which allows him to feed and rejuvenate off dead bodies, and Martic recently plucked out his own eyeball to replace it with a gem of true seeing. Phew!
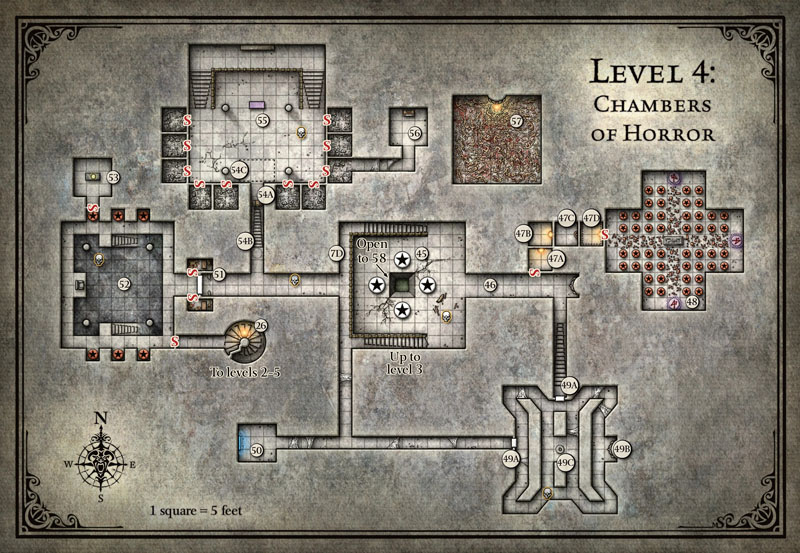
They had also found a secret staircase that led down into the lower levels but chose instead to finish exploring the rooms on this current floor. First up is Area 49 Maze of Death.
Ever since the Yuan-ti spy, Savash, joined the group, I’ve been waiting to run this room, but I still don’t know exactly what I’m going to do. Our heroes had required the help of this evil race of snakemen to deal with Ras Nsi and obtain the last puzzle cube needed to enter the tomb. The price of that help was to obtain an artifact called the Black Opal Crown from within the tomb. The Yuan-ti need the crown in order to release the snake god Dendar from her prison, upon which she will destroy the world in a completely different cataclysm that will be the plot of the sequel I intend to write and run after Tomb of Annihilation. Of course, our heroes had no intention to give this crown to the obviously evil Yuan-ti. Thus Savash was created and forced to join the party to insure their compliance. And provided some much needed muscle fighting the various encounters in the tomb.
As an NPC, Savash is played by Andrew and has developed an unusual bro-mance with Andrew’s actual PC, Bag of Nail. This bonding between snake and cat has been great fun to watch. During the course of the adventure, the group cleared out Moa’s Tomb, another snake related creature. I gave the players first choice to claim the magical treasure in that tomb, a staff of the python. Nobody wanted it, so Savash grabbed it and nobody objected. And then I read the details of the item and the subsequent possession by the Trickster God, Moa.
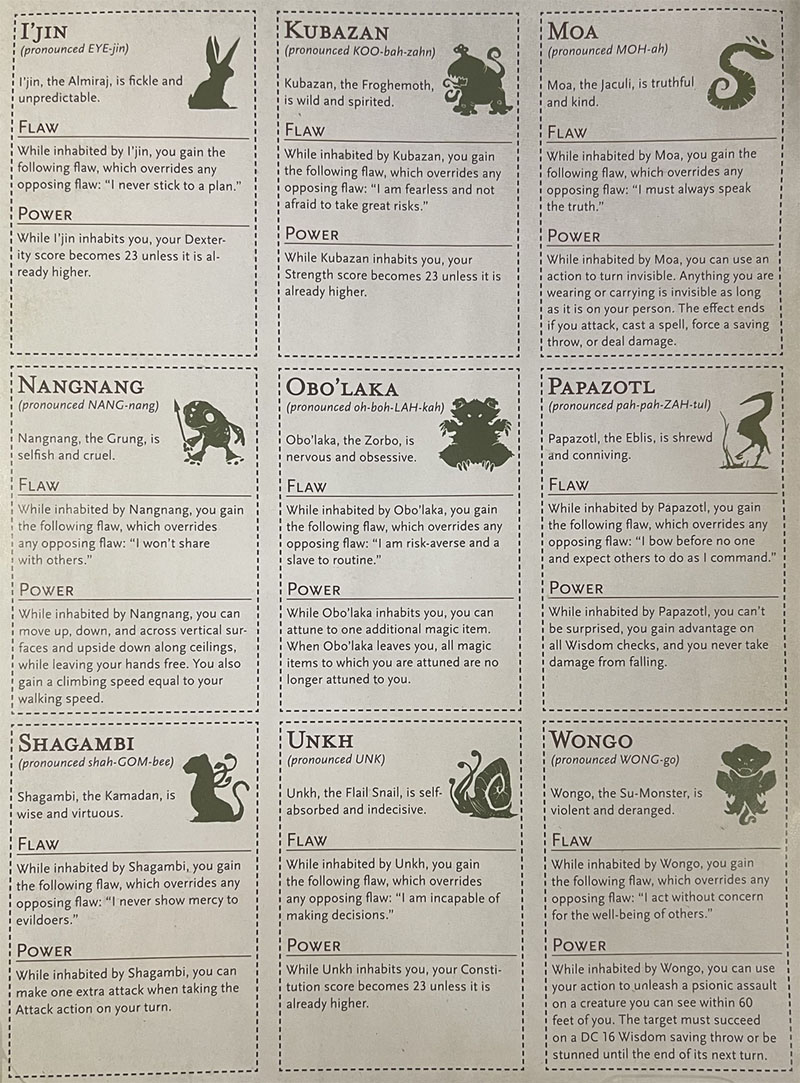
The item is irrelevant; the staff turns into a snake, like Moses in the Bible. But being possessed by Moa is huge. First off, the flaw is that the possessed must always tell the truth. This has been hilariously problematic for my evil NPC, as I try to skirt around the truth the best I can. Once Savash even said, “If I do not get to keep the crown when found, then I will probably betray the party.” But he was a useful companion for now, so those remarks were ignored. As for his new Moa special ability, it is a doozy, and I have not yet revealed to the group what it is. The group would have been far less trusting of Savash if they knew what he could do.
Now before everything could go wrong in this location, they have to get through a door. The door is sealed shut and painted on the door is an image of a hooded man with a black void filled with stars where his face should be. The hooded man is holding his left hand up to the sky. In my head canon, Savash has been given a vision of where the crown is. This door is that vision. He knows the crown is beyond this door but he does not share this with the group. He has to be honest when asked, but he doesn’t need to reveal everything. Sadly, his prophesy does not tell him how to get past the door.

There are no other clues for the players either. Your players may deduce to replicate the actions of the faceless man holding his left hand up to the sky. Or they may not. I gave them zero hints, beyond the boxed text, and just sat and listened and watched my players. As expected, they discussed all of the options except for the most obvious. They inspected the door, searched for secrets, and poured over their equipment lists, looking for the one item that might solve this problem. This could take all day, so I watched my players, waiting for a player at the table to inadvertently perform the action needed to open the door in the fantasy world. Lo and behold, at one point, Ian raised his left hand to interject.
Without explaining myself, I tell them that the door slab sinks into the floor and remains open. Everyone was confused and asked each other, “What did you do?” Nobody had an answer. “I didn’t do anything,’ was the common refrain. The door was wide open, but no one wanted to enter the room, correctly expecting a trap. So Savash decided for them. The Yuan-ti took off running into the maze, yelling, “I am sorry my friends, but I am compelled to obey my mistress!” Naturally, everyone gave chase, with Bag of Nail leading the way, pissed off at his friend’s inevitable betrayal.
Everyone had entered the maze by the time Savash found the pedestal holding the Black Opal Crown. Bag of Naills had just turned the corner and yelled for Savash to stop. Savash turned to look at his feline friend one last time. “Please forgive me, my friend,” he said, as he grabbed the crown and vanished!
My players never saw this moment coming. Literally. Being possessed by Moa, gave the yuan-ti the ability to turn invisible at will. Not once a day, or even three, or after every rest. No; invisible wherever, whenever, forever. That is insane! If I were to give this to a player, I would cap this ability to twice a day, maximum. And now it’s in the hands of a bad guy. The most heart wrenching part of the scene, however, was when I had to take away Savash’s stat block card from Andrew. He really liked that scaly snake in the grass traitor.
My players don’t even get a chance to absorb this shock, since several other things happen at the same time. First off, the room is sealed as both entry doors (there are two) rise up, trapping everyone inside. This was witnessed by Gwen whom had stayed behind to guard the door. Second, there is another Green Faced Devil on the wall behind the pedestal. And out of the gaping maw of the Devil crawl two pitch-black creatures of nightmare myth. Bodaks.
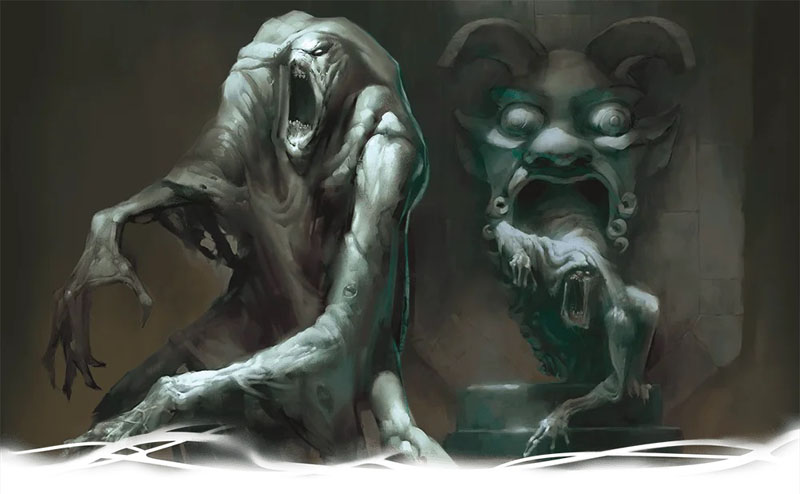
This encounter was working on numerous objectives. They had to find a way out of this trapped room, they were fighting some very deadly foes with permanent area of effect auras, active and passive gaze attacks, and some serious damage output, plus they had another Devil Face to deal with and they had to hunt down an invisible traitor. On top of that, they were spread out all over this maze, unable to coordinate their attacks. Of course, Bag of Nails has no idea what these things are, so he is looking directly at them, triggering their gaze attack. He fails his save, but avoids being immediately knocked unconscious, and takes 16 points of un-dodgeable necrotic damage. “Don’t look them in the eyes,” the scaredy-cat cries.
Gwen upcasts spirit guardians and goes off to help Bag of Nails. Meanwhile, Martic and Thames go hunting for Savash. Incredibly, they guessed the correct hallway that Savash was attempting to escape by. They blindly fired spells and arrows down the hall, but they didn’t account for the fact that Yuan-ti have the spiderclimb ability. They guessed the right hall, but they didn’t aim for the walls or ceiling. Unable to find a target, they joined Gwen and Bag fighting the bodaks.
The group was very lucky fighting the bodaks. No one got petrified or knocked out by never looking directly at them but incurring disadvantage on their attack rolls. The fight took a surprisingly long time. Well, not too surprising. Four heroes attacking with disadvantage sucks and takes forever. Finally the bodaks were taken down. But Savash was still missing and they were still trapped inside. They were convinced that the Green Devil Face held the secret of getting out (it kinda does) but they were also terrified of this gaping hole in the wall.
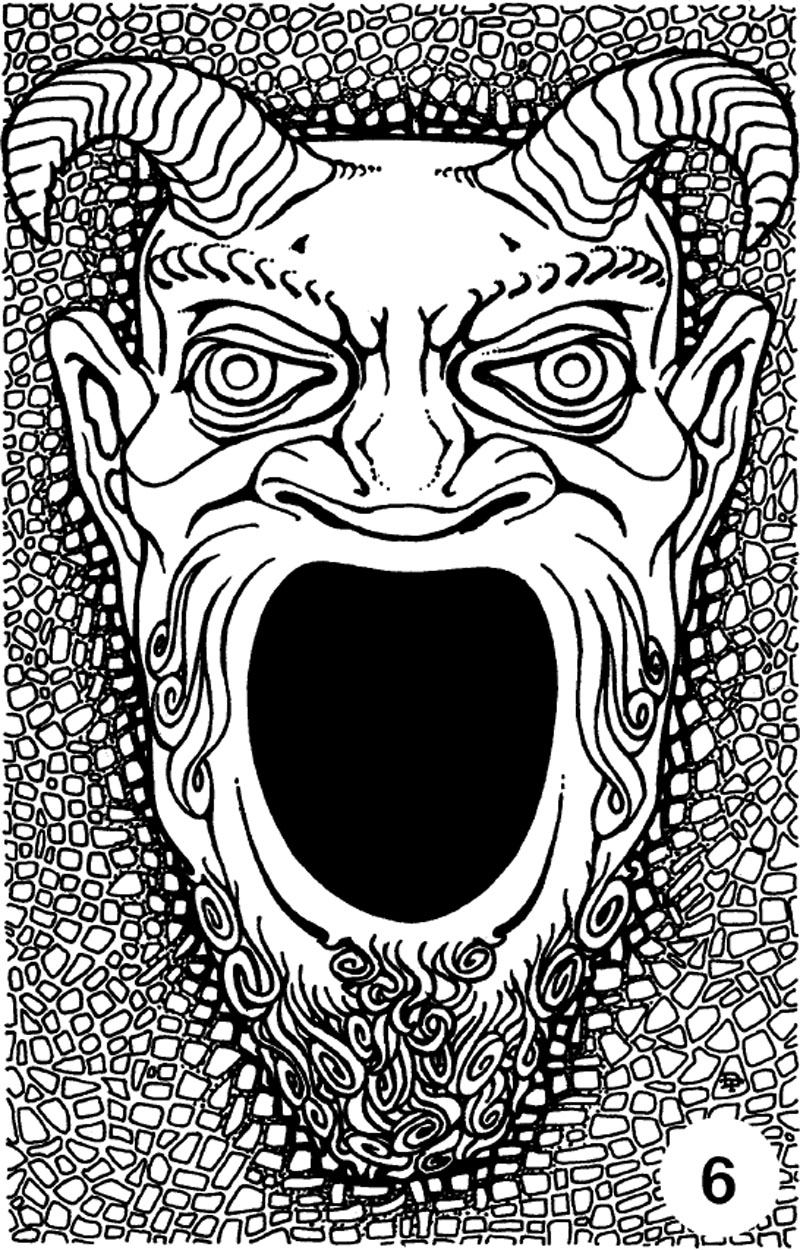
This has been the fourth such Devil Face our heroes had seen inside this tomb. Of course, my players are all full of meta knowledge. Everybody knows that, in the original Tomb of Horror, this Devil Face holds a sphere of annihilation and instant death. Thus far, all of the other Devil Faces have held things other than that deadly sphere; a pocket dimension, a secret hole to a different floor, etc. It was only a matter of time before our heroes get complacent and explore one of these Devil Faces recklessly and get killed. This is that time.
Thankfully, my players are still afraid and expect a lethal trap. Thank God I made them pack all those 10’ poles that they never used. Taking the pole, they stick it half way into the mouth of the Green Devil. Nothing grabs them on the other ends, yanking them in, so they withdraw the pole from the hole. Now the 10’ foot pole is a 5’ foot pole. In case you don’t know, the way a sphere of annihilation works is that anything that moves past the outer boundary of the sphere is instantly destroyed. Disintegrated, but only right up to the edge of the sphere. No saving throw, no second chances; permanently annihilated. Anything outside the sphere is unaffected. Stick a hand inside; you lose that hand, but the arm remains. There is debate whether such a wound cauterizes itself or continues to bleed out, but the injury itself is painless. But go too far, such as walking halfway in or poking your head in to look around, and it’s time to throw that PC away.
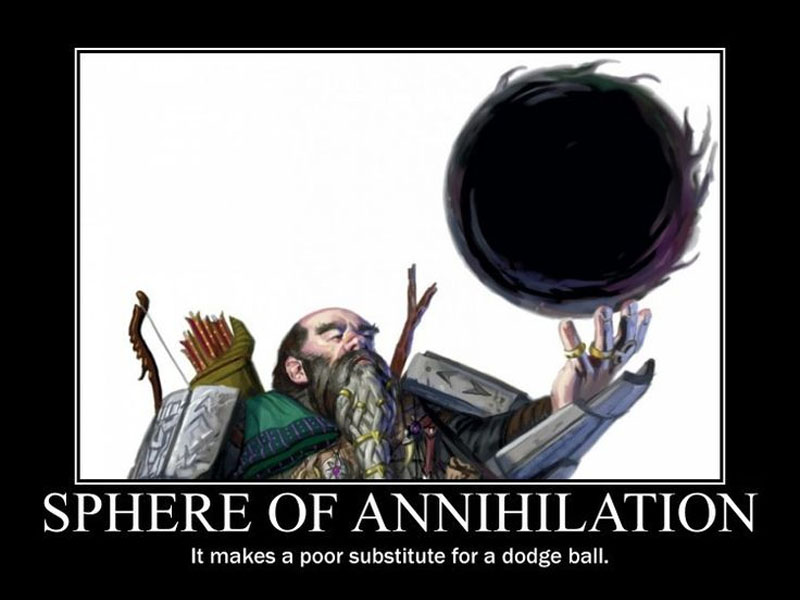
My heroes are convinced this is a sphere of annihilation, but they have to be sure. Besides, the bodaks came out of this thing. How does that work? I don’t know. It is not explained in the book. It magic! If we could catch Savash we could test it out on that slimy bastard, but he is still nowhere to be found. Yet another example of when having dispel magic would have been huge. No one wants to volunteer, even Grum who loves Gwen wholeheartedly, but there are limits, lady! Suddenly, Martic knows of the perfect sacrifice and calls out, “Skuld!”
Skuld is the Viking warrior bound to an amulet gifted to Martic by a Nordic fortune teller in Port Nyanzaru in Session 36. When called, Skuld appears in a flash of lightning to help fight alongside our heroes until destroyed or is dismissed. He was last used in Session 45 to hold a door for our heroes to escape from a horde of undead. This time, Martic has a simple instruction; “Skuld, step through that hole.” Skuld obeyed.
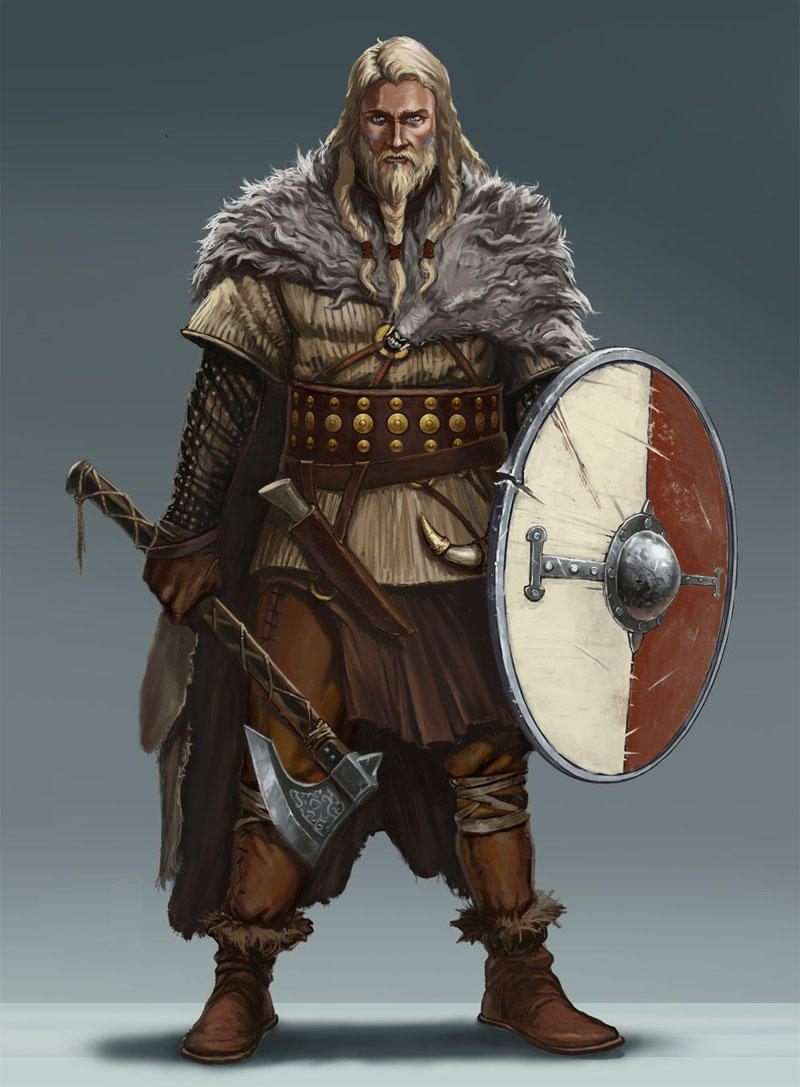
All that remained of Skuld was the lower half of his back leg as he entered the void. The severed limb flopped to the ground in a pool of blood. “Okay, nobody goes in there,” was the group consensus. But what happened to Skuld? Did he return to Valhalla? Is he gone forever? Who knows? His amputated leg did not disappear and lay lifeless on the floor. No lightning flash calling it home. Signs were not promising. But it was clear that no one was getting out of here via this Devil Face. The party moved on, looking for another exit.
They found the second exit from the maze and they finally got a good look at the mural on this side of the door. This mural showed the same faceless man, but this time he is holding his right hand up, but this arm is now a severed stump. Gwen/Ian was struck with inspiration, remembered her earlier actions, and now it all made sense. The book intends for one hero to sacrifice their right arm into the sphere of annihilation. But really, who is going to do this? There is a possible charm that can reverse this condition in Unhk’s Tomb (area 54) but Bag of Nails had already received a different charm, so this option was not possible. But Gwen had a unique solution. She called up to anyone listening. “Savash! One of us needs to sever his right arm and hold the stump up to the door. If you do this, we will let you go with the crown.”
Several uncomfortably silent minutes passed, when suddenly the door sank back into the floor once more. Bag of Nail never agreed to this deal and he ran to the other exit to capture the friend who betrayed him. But Savash was gone, having disappeared once more. (At will invisibility! What were you thinking, WotC?) All that was left of Savash was the clawed, scaly hand of the Yuan-ti, lying lifeless on the floor. I wasn’t sure how they were going to get out of this room, but I had thought of this solution and I’m really happy that one of my players did too. And thus, Savash abandoned the Society of Stalwart Adventurers and exited the campaign. For now. Finally, we moved on to the most deadly trap of the entire dungeon. Area 47 The Elemental Cells.
Of all the traps within this adventure, my money is on this one to be the most lethal. I promise to give my rundown of the full rankings of the deadliest traps, but I am waiting until we get to the 5th Level where there are two or three contenders for the title. But I will spoil that list to say that this is probably my Most Likely to Kill a PC trap. There are several traps with high damage capabilities and others that have save or die conditions and no chance for resurrection due to some permanent destruction, like decapitation or disintegration, etc. But this trap has all that for four separate traps, and is the only one that needs a minute timer and a flow chart, to track how quickly your players will die.
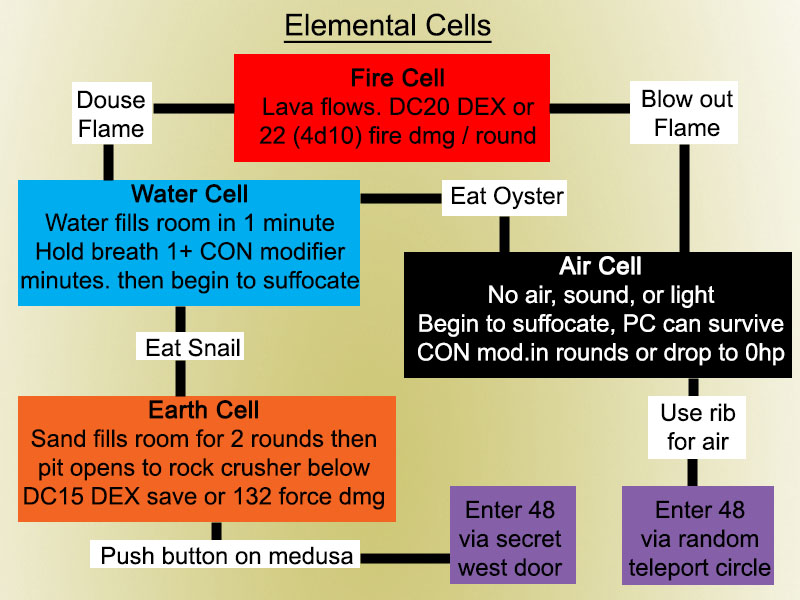
This trap consist of four (4) 10-foot square rooms each dedicated to one of the four elements. Despite being drawn on the map next to each other, there are no physical means to get from one room to another. Each room is connected via teleportation that is triggered by a different method for each room. And the path between the rooms is not linear. Your players will content with two, or three traps depending on your choices. The minute timer is vital to force your heroes into making a very quick decision to survive each trap. Each room becomes lethal in 10 rounds (1 minute) or less. The timer gives your players the best visualization of their impending doom. I would use an actual sand timer instead of a digital timer. The falling sand is way better at shocking the players into action than a clock. And it just might saves their lives.
When presented with a problem, most players tend to take forever, discussing plans and reviewing all their options. Almost every RPG group in the world has had a time when it took all session to get through an unlocked door. Dropping a sand timer on the table will force your group to think of the first solution that comes to mind. The answer to each trap in these rooms are nor complicated, but player will make it so if your give them the time to do so.
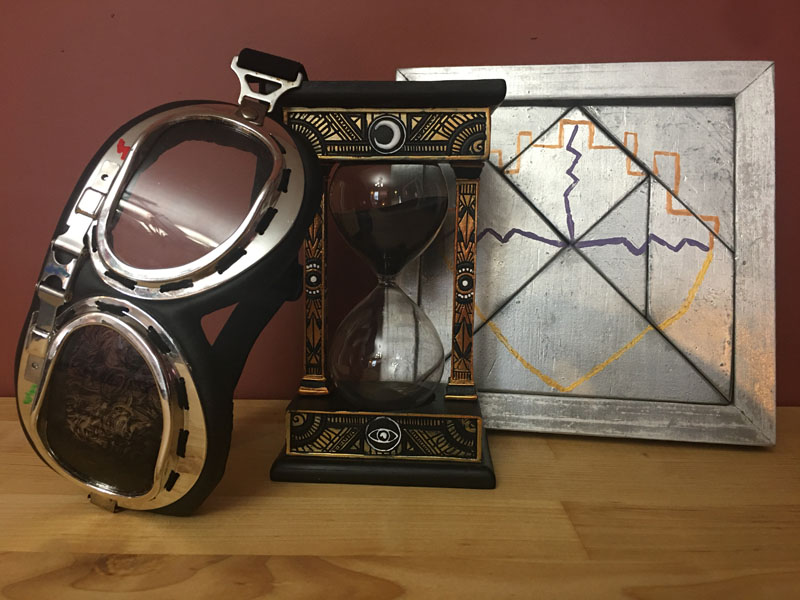
There is no spirit advice provided for this trap but there is a line in Acererak’s Fourth Warning so make sure that the handout you provided for your players is front and center for all to see. I would alter the line pertaining to this trap to read: “Death to fire, quickly dine or drown, precious air, and weighted sand.” The added italic word will hopefully better hint at the best way to survive this trap. Also since this is the only entrance to Shagambi’s Tomb, I made the secret door in the hall easy to find (DC8) and I even told them that they could smell the acrid scent of hot metal and sulphur when they entered the hallway to prompt them into looking for something hidden in this hall.
Once the door is open describe the first room fully including the heat, the holes, and the strange red candle. My group spent a long time examining the room before they entered. Let them. Give them the full chance to ignore this room. They best way to avoid a trap is to not enter it. If they walk away, so be it. When they want to get to Shagambi’s tomb, they’ll be back. Thames used his breath weapon from the door to blow out the candle. It did just that, the candle blew out and relit itself immediately. Thames attempted to mage hand the candle out of the room, which was a great way to inform them of the anti-magic field inside this trap. The magic hand disappeared as soon as it moved through the doorway. Ha! Try again.
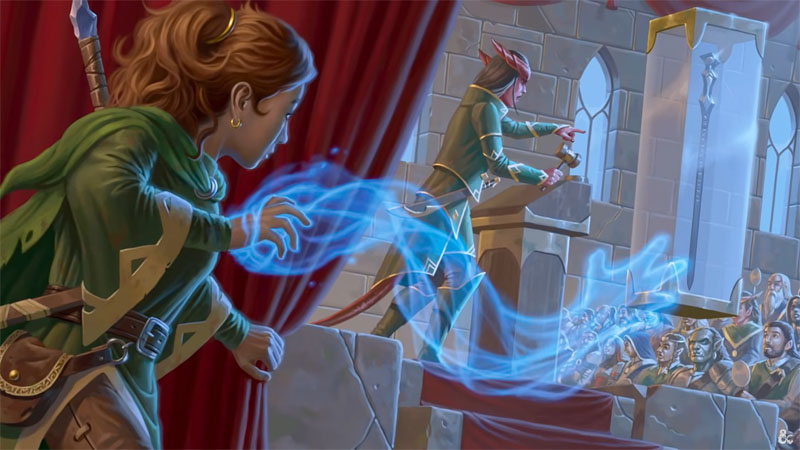
Finally, they sent in the team of Martic and Bag of Nails to investigate. These two had the most hit points left, and they knew the sending stones would be useless; hopefully Martic’s telepathy with Summerwise (who remained outside) would be enough to get a message through. The duo entered the room and the door instantly slammed shut, sealing them inside. Ignore the part about Withers spying on them and trying to trap as many players as possible. Just have the door magically close when whomever wants to go inside goes inside. In fact this trap works best (and deadliest) if each person has to go through it separately. We did it is groups of two and that was fine.
If you are able, run the trap with each player privately in a separate room if possible. I know this is boring for those not actively playing but that minute timer will keep this down time to a minimum. For Bag and Martic, as soon as the door closes, lava begins streaming into the room from the ceiling as I turn over the sand timer. It took about 12 second to make a decision. Each rolled twice to save versus lava, passing one and failing the other, both taking 33 points of damage, before they understood the clue to the trap. “Death to fire” tells players to extinguish the lit candle in the room. Together they snuffed the flame with their fingers. Though not listed in the book, I equated this solution as the same as blowing the candle out and the two were teleported to 47C The Air Cell.

Or rather, the lack of air cell. And also, no light. Or sound. Imagine outer space, deep space with no stars in a ten foot room. And remember, in space, no one can hear you scream. What movie is that from? Anyone? Anyway, back to this trap. Since neither had any forewarning, Bag and Martic began suffocating right away. So what are the rules on that? The Players’ Handbook says that a person with no chance to hold their breath will pass out and begin dying in the number of rounds equal to the Constitution modifier. For both these heroes that means the have 3 rounds, just 18 seconds, to exit this trap or die.
On top of that the players cannot see. If both these heroes did not have dark vision, they would have died, but in 5th Edition everybody has dark vision. Have I mentioned before that I hate dark vision? It was easier back in the day, when just elves and dwarves had it. And it was always intended to be used during nighttime moonless travel. Not in bowels of the earth with zero light. That should require the equivalent of blind sight. Whatever, everybody can see everywhere. Torches are dead. And even if by some miracle, a hero really was blind in this room, there are still provisions to feel your way around the room.
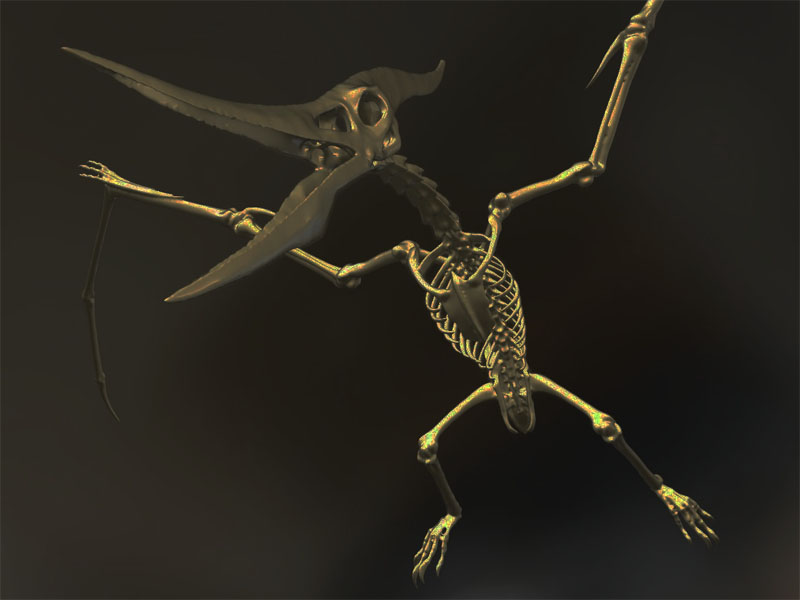
But both heroes could see, and immediately find the aacockra skeleton. That’s Round 1. In Round 2, I gave them both a Perception check to notice the wax-capped tubes that make up the ribcage of these hollow boned birdmen. Round 3. With zero time to spare, they broke off a rib, punctured the seal, inhaled deeply and were instantly teleported out of the trap and into Area 48. They had found the quickest and easiest(?) path out of this trap. They tried to send a message to the other, but they were using the telepathic link between Martic and Summerwise. The fairie dragon can only communicated with the others via emotions and actions. They best option they had was for Summerwise to perform the action of holding his breath. Which of course, was misconstrued.
Once the first two had exited the trap, the door back in the hallway opened again, inviting a new pair to try their luck. The NPCs Grum and Dragonbait were told that if the main group of heroes did not return within an hour, they were to find a way out of the tomb. With that, Thames and Gwen entered the first trap. The door closed, the lava flowed, saves were failed, and this new pair mistook Summerwise’s instruction to hold their breath as a warning to not blow out the candle. Instead they pour out their water skin, dousing the flame and teleporting to Area 47B The Water Cell.

This trap works similarly to the Wine trap back in Area 20 False Tomb (Session 43). This time the trap uses plain old water to drown its victim, filling the room in exactly 1 minute. Start the timer. This is the one trap where danger is not immediate, so they spent more time than they should running through their options. But the only objects they can interact with are the snails and the oysters on the wall. When the room was about half-full, Gwen drank her potion of water breathing, then they realize that the “Ðine or drown” warning was meant for this room. So pick your poison; snails or oysters.
I did not add the word “quickly” to this warning as I suggested earlier. This meant my player had a 50% chance to survive this trap. Eating the wrong creature will teleport you to the literal death trap portion of this trap. Hopefully, “quickly” will clue your group to not be like a snail and choose the oyster. As I said, my two did not have this extra hint. Fortunately, they both choose to eat an oyster. It would have been cool if they ate different things, but then one of them would have likely died. The room was almost filled when they ate, and at that exact moment, Gwen realized what Summerwise’s hint was. As she swallowed, she yelled, “Hold your breath!” Then she took a huge gulp of water, and Thames inhaled his last gasp of air as they teleported to The Air Cell.
This likely saved their lives, since they had the lowest constitutions and neither had darkvision. They needed every second of “precious air” to give them time to fumble around in the dark looking for the way out. But thanks to Summerwise’s clue, they both held their breath before entering this cell. For that, the PHB says that a PC can hold their breath for a number of minutes equal to 1 + their Constitution modifier. Basically 1 – 5 minutes. Thanks to those extra minutes, they were able to grope around in the dark and find the unseen skeleton with two missing ribs, figured out what they needed to do and teleported out of this elemental exercise in existential angst.
But what if they had eaten a snail? Well, you can probably chuck that character right into the paper shredder which is exactly what the book does. This time instead of lava or water, sand begin pouring into the room from holes in the ceiling. The other rooms don’t turn deadly for a minute or two, this one will kill everyone in just 12 seconds. In Round 2 the weight of the sand will cause the entire floor to open onto a giant pit with a lethal rock crusher at the bottom. There is a DC10 check to guess at the possibility of the pit, and there is a DC15 check to somehow remain standing on a ledge. Otherwise, it is an automatic 132 (24d10!) points of damage that will kill anyone who falls in.
This is the epitome of the Save or Die trap, made infamous in the OG Tomb of Horror, and one that is sorely missing in this version of the adventure. Between this room and the No Air room, this is why I place this trap so high on the lethality list. Remember that no magic works, so no spells or items can save them. Incredibly both Bag of Nails and Martic have non-magical natural abilities that could have saved them here. Bag can climb walls and Martic can use his bug swarm to hover. But Thames and especially Can’t Pass A Dexterity Save Gwen would have died. But they didn’t, so let’s move on to Area 48 Shagambi’s Tomb.
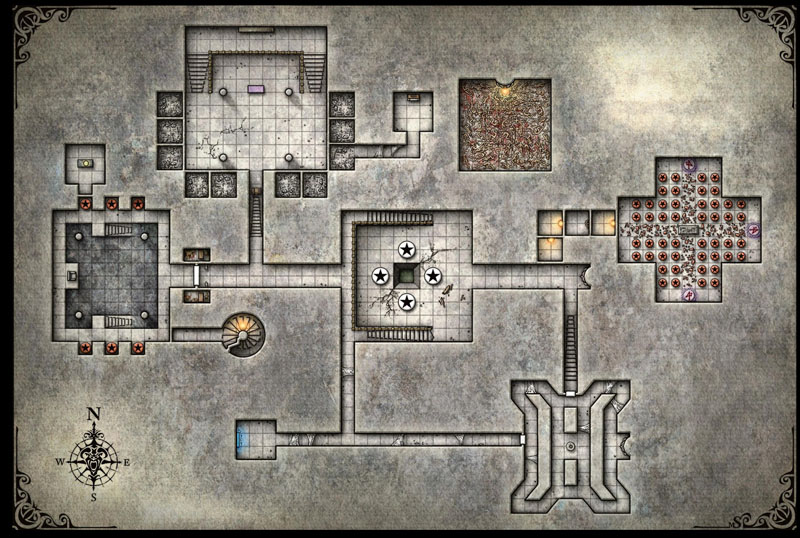
This is a strangely straight forward yet needlessly confounding encounter, with literally dozens of moving parts and of course I started off with a mistake. When someone teleports into this room, they randomly appear at one of the far ends of this cross-shaped room. But there is no teleportation circle in the west end, which is where I placed both Martic and Bag when they teleported into the room. I had hoped that they could help the other two escape the death trap via the secret door within the trap, but the door can’t be opened from this side, and the others never entered that particular room anyway. Then when the last two teleported in, I just placed them all together. But it would have been so much better to separate them in opposite corners for when they finally saw the room they saw:
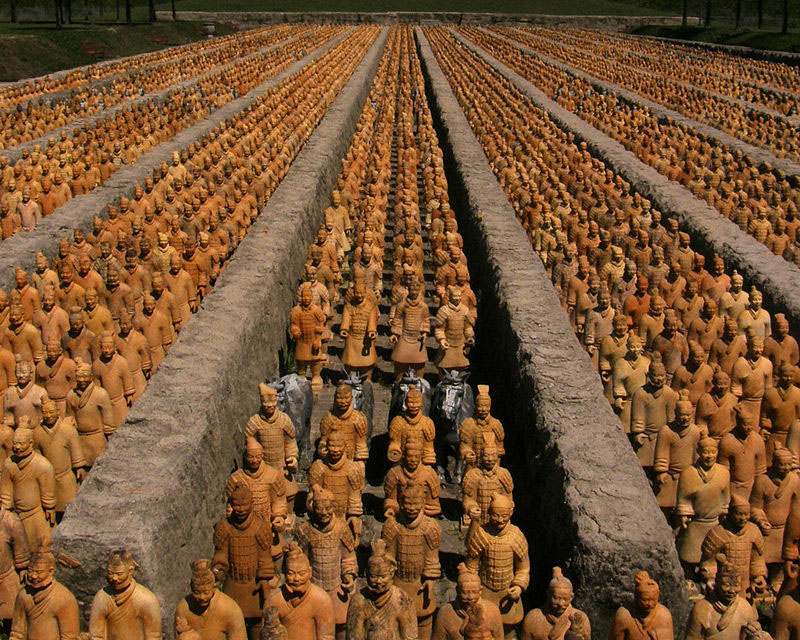
This creepy room filled with dozen of grim terracotta warriors, silently watching them. This trap is activated my noise as hinted at by Acererak’s Warning. Had the heroes been separated it would have been a great moment to have one player shout to another only to be terrified as every statue swivels to face the offending hero as a single warning to be quiet. The same objective was achieved when one player spoke, but since they were all together they were able to just whisper their plans. I would have been way funnier to watch as my players tried to communicate using nothing but hand gestures across a crowded, distant room.
They plan was not very sophisticated. They simply tried to silently walk through the obvious path of broken pottery. Their attempt at stealth was immediately foiled by clumsy Gwen, so roll initiative as forty-eight (48!) statues attack. This combat was a mess. Tracking hit points and attacks for 50 creatures is a pain in the ass. Fortunately, these statues have no range attack, so dozens of warriors had to wait until the front line was killed and the next row could move forward.
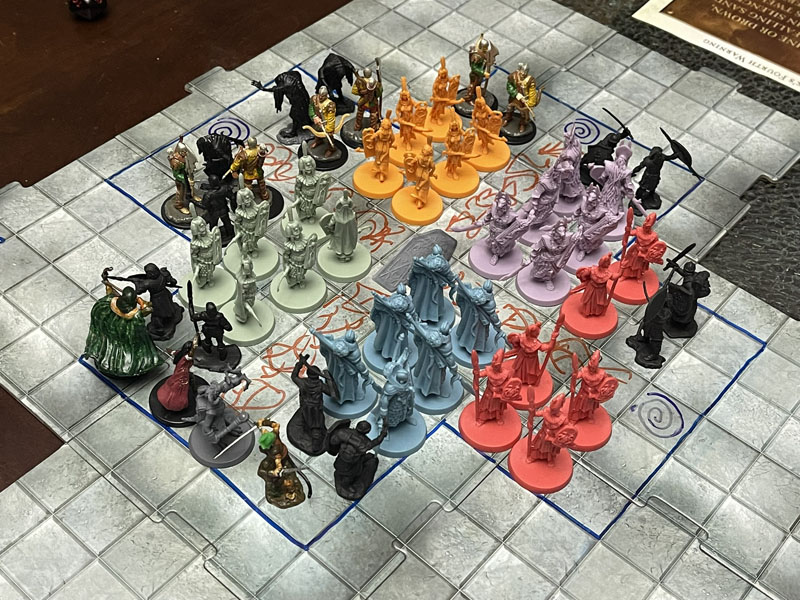
The only good thing to come out of this laborious fight was that the party burned through a bunch of AOE spells like cone of cone and lightning bolt. Some needed chaos was inserted when Martic used his wand of wonder to cast slow and then darkness that affected both sides of the fight, making everything more difficult for everyone. Then Thames got frustrated and just obliterated this annoying army with multiple castings of shatter. I was able to drop both Thames and Gwen done to single digit hit points, and I love it when I can get my PCs seriously close to death.
Once this nonsense was done, my heroes were finally able to loot the last of these Trickster God tombs. This one made me sad that Theo had to leave the campaign. Shagambi is embodied by the kamadan which is this player’s favorite animal, and as a paladin his chosen steed was a kamadan that they had rescued back in Session ??. He would have loved to be possessed by this spirit and his gifted extra action would make him an even bigger badass. Instead Thames just shoved another useless artifact is his sack and they teleported out of the room via one of the random teleportation circles. I ignored the polymorph trap in the southern circle because there was no clue or warning about this trap and it would have been stupid to get this far only to have a TPK here and end the campaign because everyone was turned into a baboon. But I really like the detail that when you teleport out, you end up directly in front of the life-trapping mirror in Area 50 with no chance to avoid looking at it. This would have been great if my heroes hadn’t already smashed this mirror and killed everything in the room.

Our heroes should have taken another rest at this time but they insisted on pushing on. They had completed level 1 through 4 and were anxious to get to the next level. They had found two ways of accessing this level: a giant pit in Area 45 and a hidden staircase in Area 52. The pit seemed too obvious and they knew that the staircase was the way that the guy who built this dungeon and his minions used to get around without being seen. My heroes thought they were being clever by sneaking down using these same stairs. They were, but the architect, Withers, was even more clever. He hates these heroes, who have foiled and destroyed all his brilliant traps.
He has set a trap for these pesky adventures, but it requires that he trap himself on this fifth level. As the party begins to descend this secret stair, they hear shouting coming from below, “They’re coming! Those bastards are coming down the stairs right now!” Next they hear the distinctive wheeze of an irritated Withers, “Blow it. Blow it now!” Then a third voice chimes in, “But my men are still up there.” Withers roars, “I said, blow it right now!” Suddenly a huge explosion rocks the entire stairwell as the lower stairs collapse upon itself, sealing off the lower level and presumably killing a few hapless tomb dwarves. Bag of Nails yells down at the rubble, “If you can hear me, I’m going to kill you, Withers!” There was a lot of not-family-friendly swearing as well as Bag ran back toward that pit with all the rope he could carry.
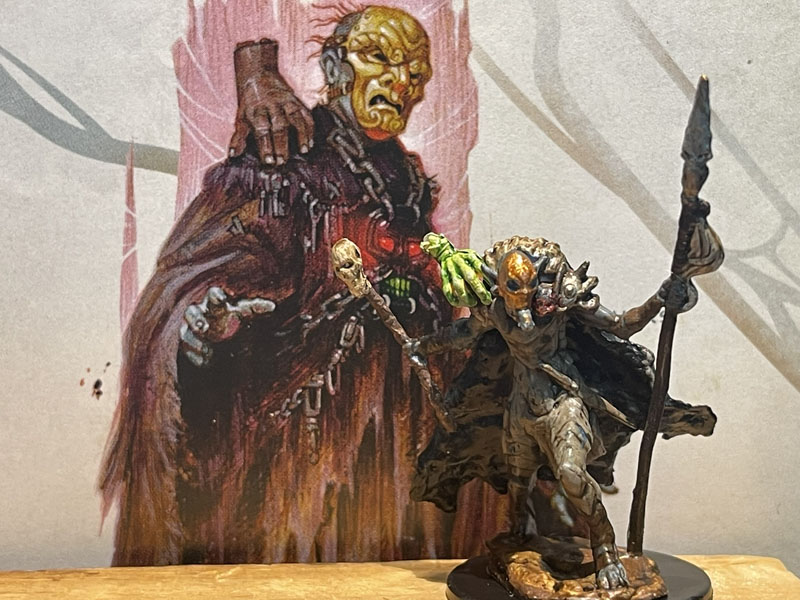
Next week, Withers is done dealing with our heroes shenanigans and sets one final trap in an epic mini boss battle.
As always, murder hobos are really fun to manipulate into obvious traps and Game On!
BTW we did also find that weird, semi-intelligent lizard that once belonged to the Yellow Banner but only speaks Druidic. It currently lives in Bag of Nails fur and should have drowned in that airless room, but it is apparently really good at holding its breath.
As usual, don’t forget to check out my Tomb of Annihilation Resources Page, filled with all the stuff I use to make this epic campaign even more epicier: My full Campaign Diary, plus Handouts, Maps, Charts, PDFs, Images, and more to use, abuse, or ignore at your peril. All the templates and instructions for my Trickster Cubes are found here as well.
And written specifically for this adventure, read my Explorer’s Guide to Chult to delve into all the legends, lore, history, religion, and culture that I used to bring even more life to this adventure.


2 thoughts on “D&D Diary – Tomb of Annihilation – Session 50”